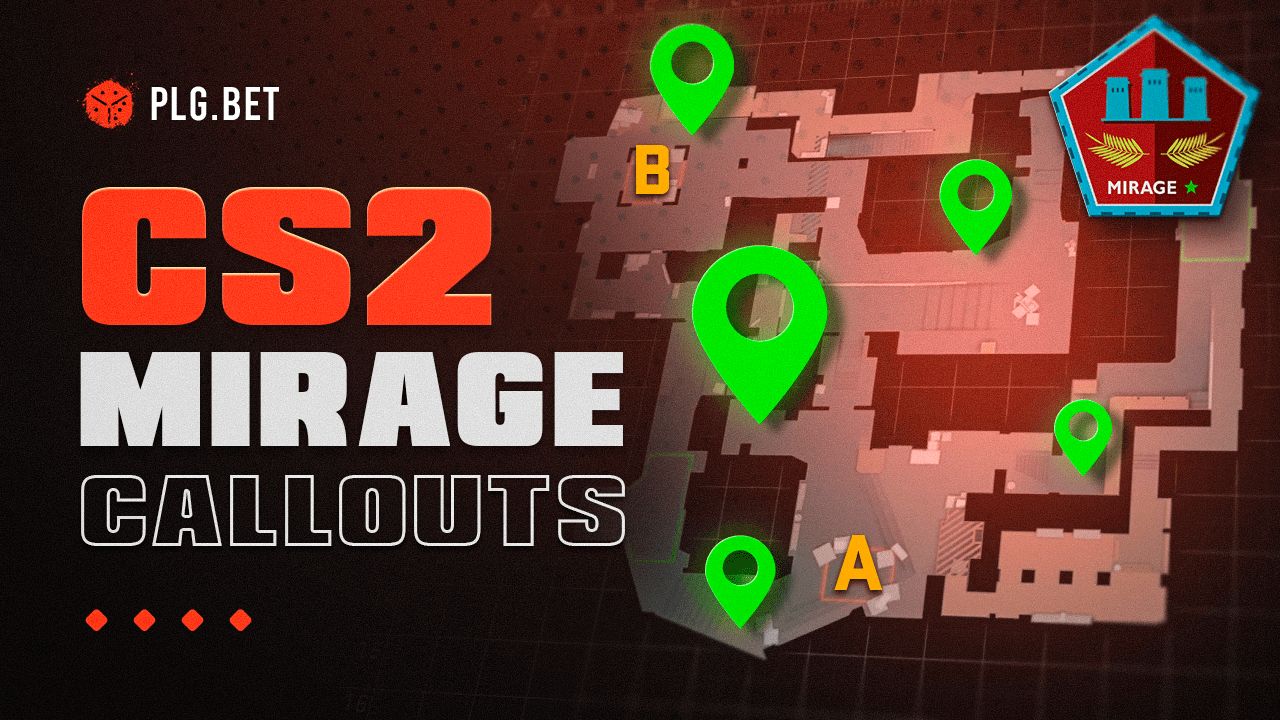
Mirage callouts CS2 define the language of strategy on Counter-Strike’s most played competitive map. Callouts on Mirage are quick position names that drive coordination, map control, and round success. With CS2’s visual overhaul, some traditional terms shifted, making accuracy even more critical. Mirage remains one of the highest pick-rate maps in professional play, central to competitive play and esports betting. This guide delivers expert strategies, tactical breakdowns, and comprehensive CS2 map callouts.
Essential Mirage Map Overview & CS2 Changes
Mirage is one of the most iconic maps in Counter-Strike history, with a layout considered one of the most balanced in competitive play. It is widely considered the most balanced competitive arena, where both sides have nearly equal chances. The map is divided into three essential zones: A Site, Mid, and B Site. Each area plays a crucial role in dictating the pace of a round and shaping overall team strategies.
With the release of Counter-Strike 2, Mirage received a major upgrade through the Source 2 engine. Players now experience enhanced lighting, sharper textures, and improved visibility across the map. The most impactful change comes from the new volumetric smoke mechanics, which interact dynamically with bullets and utility. These updates directly affect traditional Mirage callouts in CS2 and force teams to refine their tactics.
Some classic CS2 Mirage positions have remained unchanged, including Shadow, but visual adjustments introduced new angles. Geometry tweaks and lighting contrasts influence both in-game decision-making and the viewing experience for esports audiences. For bettors, these improvements mean clearer tactical reads and more accurate live analysis.
Mid control continues to be the foundation of map strategy. Holding this zone secures faster rotations and provides an economic edge. Tournament data after CS2’s launch confirms Mirage’s high pick rate among professional teams, proving its lasting competitive relevance.

Complete A Site Callouts Guide
A Site draws Terrorist pressure from many angles. It anchors map control and round momentum. Use Mirage A site callouts to coordinate.

Palace and Tetris Positions
Palace leads A Main with elevation and off-angles. Palace Mirage callouts guide entries and trades. The Tetris position uses stacked boxes for cover. Ticket Booth links Palace to Ramp swings. s1mple’s Palace picks and NiKo’s Tetris pressure show priority. G2 and FaZe favor these.
Default and Ninja Spots
Default box secures the bombsite plant and crossfires. Mirage Ninja position hides near CT spawn for frags. Stairs callout marks CT route to A. Use the Triple Box and Firebox to layer trades. IGLs cue Mid support, deny retakes, call rotates.
A Site Utility Positions
Smoke positions: CT, Jungle, Stairs, Triple. Flash assists land from Palace and A Ramp. Nade lineups clear Default and Ninja. Molotovs block retakes and eco stacks. HLTV trends back A executes; ESL rounds prove timing, showing how competitive gaming thrives on precision.
Mid Control & Connector Callouts
Mid is the strategic heart of Mirage. Whoever secures Mid shapes rotations, economy, and map pressure. Strong Mid Mirage callouts let teams share information fast. CTs use setups to deny control, while Terrorists invest utility to break defenses. Statistics on HLTV show a clear link between Mid dominance and round wins. Pro teams like Astralis and Team Liquid prioritize this area because rotations through connector callouts decide site defenses. The Window position also remains one of the most contested sniper angles.

Top Mid and Catwalk Positions
Top Mid overlooks Connector, giving vision and pick potential. Holding this vantage point secures early round info and forces CT rotations. Catwalk Mirage connects Mid to B and provides a key entrance for fast transitions. Underpass, often described as the underground route, links T spawn to Mid, offering a split approach. Pro players combine jiggle peeks, crosshair discipline, and careful utility to gain ground. AWPers often lock Top Mid, while riflers take Catwalk trades. Tournament examples show how controlling this triangle wins rounds.
Connector and Window Positions
Connector positions are the map’s rotation highway. Teams fight here because it links Mid to A. The Window position, often called Nest, is a high-value angle overlooking Mid and Connector, enabling AWP picks and info. CTs often hold Window with aggressive peeks or utility denial. Ladder Room connects Mid to B, allowing split pushes. G2 used creative Connector executes recently, pairing smokes with fast entries. Timing calls and sound cues matter here: late lurks or fast rotations punish mistakes. Window dominance shapes site access and mid-round decisions.
Mid Control Utility Guide
Winning Mid requires smart utility. Core Mid smokes include Window from T spawn and Connector variations. Teams also throw Connector flashes to blind defenders and push safely through the tunnel of Mid control. Professional utility executions use step-by-step sequences: first smokes, then flashes, then map entry. ESL games highlight consistent setups that secure Mid in under 15 seconds. Counter-utility — like re-smokes or molotovs — can delay pushes, but timing gaps create openings. Pro squads practice sequencing utility until automatic, ensuring maximum control and consistent round success.
B Site Callouts & Team Coordination
The B Site on Mirage is a tight, close-quarters battleground that demands precise communication. Its multi-level structure includes Apartments (Upper and Lower), Balcony, Market, Van, Bench, Short, and Kitchen. Executing here is more difficult than on A Site due to narrow choke points and defender-friendly sight lines. Accurate Mirage B site callouts are critical, since confusion often leads to failed pushes. Teams like Astralis and FaZe have refined B setups with layered defenses and quick rotations. Post-plant situations are especially chaotic, with retakes requiring heavy utility and coordination. Economy also plays a key role, as force-buys around B can change momentum.
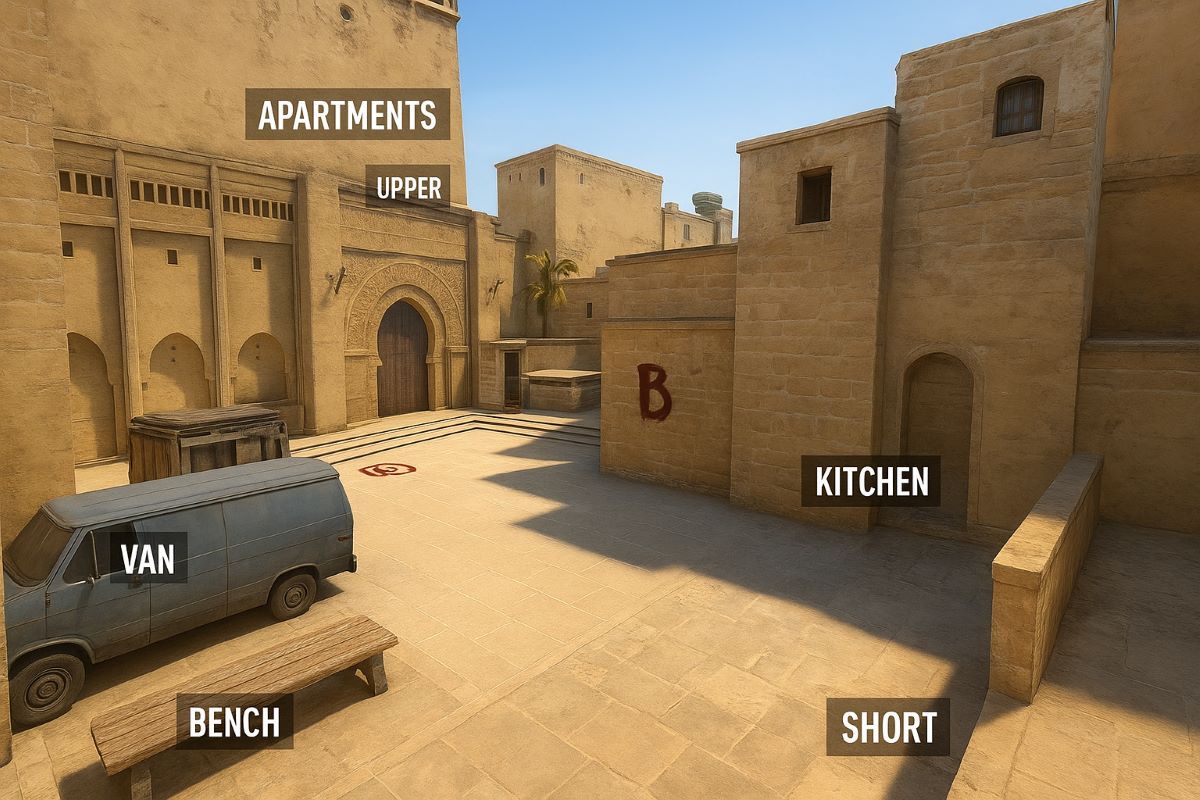
Apartments and Balcony
The B Apartments position is the main T-side entry, split into Upper and Lower paths. The Mirage Balcony callout refers to the elevated wooden balcony overlooking B, often contested by defenders. Bench is a staple holding angle for CTs, offering cover during retakes and crossfires. Quad Stack boosts defensive depth near B Site. Sound cues inside Apartments are vital for reading rotations. Pro players focus on crosshair placement and peek discipline, while coordinated utility clears Balcony to open safe entries.
Market and Van Positions
Market position is the CT-side anchor behind Bombsite B, acting as a hub for rotations. The Van callout describes a forward defensive position that pressures incoming attackers. Back Site provides essential protection for planting or defending. Short connects Market to B and enables fast rotations. Tournament examples show Market holds delaying pushes and Van anchors stalling entries. Professional teams use these angles to layer defenses and maintain information control.
B Site Retake Strategies
Effective retakes require multiple retake positions and well-timed utility. Terrorists often establish strong post-plant crossfires, forcing CTs to rely on smokes, flashes, and molotovs. ESL Pro League matches highlight coordinated plays with flawless team coordination. Successful retakes depend on clear communication, sequential angle clearing, and synchronized utility usage. Timing is everything, as late rotations or miscommunication can cost the round.
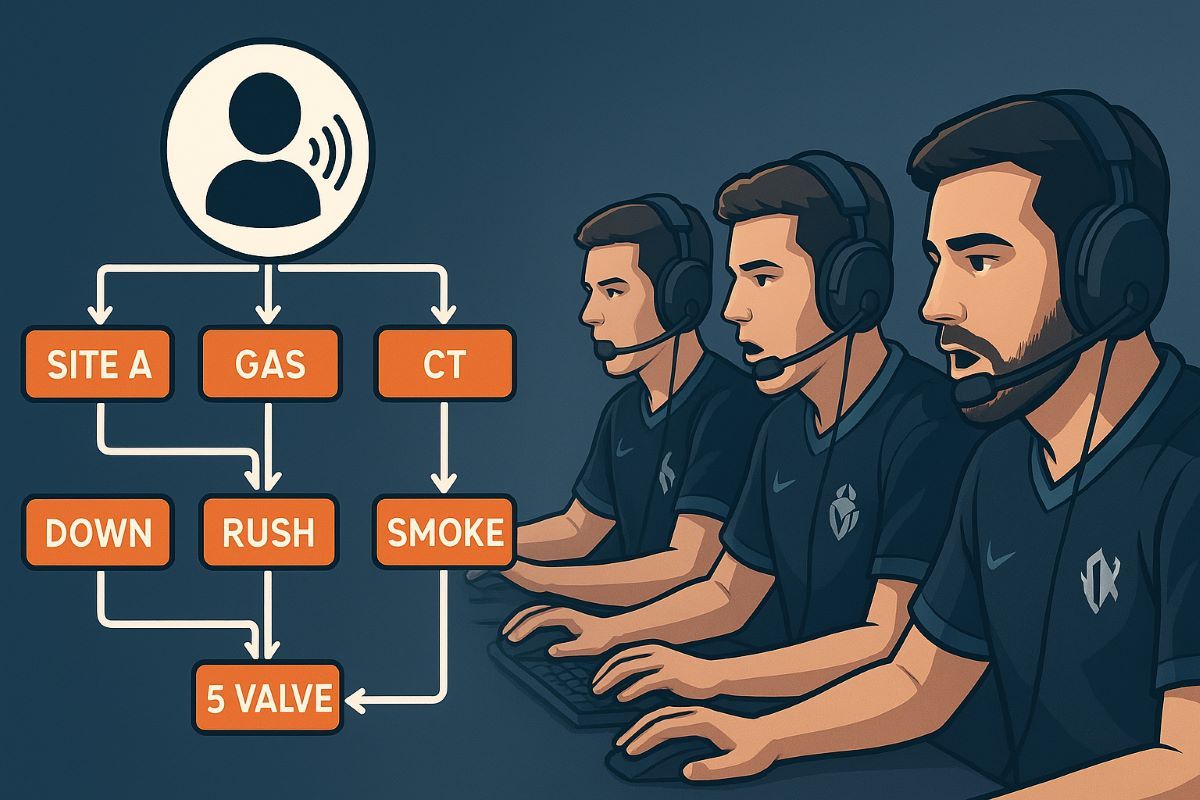
Professional Team Communication & Voice Chat
Strong, effective communication is the foundation of every successful strategy. The IGL leads tactical flow, using structured IGL calls to set pace and rotations. Clear voice chat etiquette ensures only critical info is shared: enemy spots, utility usage, rotation timing. Professional squads like Team Liquid and G2 practice communication drills to refine accuracy and consistency. ESL events often require English standardization, pushing international rosters to use concise callouts. Noise discipline becomes vital in clutch moments, especially when fighting inside a small room where every sound matters. Effective filtering keeps teammates confident, while emergency protocols help adapt to chaotic rounds.
Advanced Tactical Callouts for Competitive Play
Beyond the basics, professional players rely on competitive Mirage spots that push strategy to a higher level. These are not simply standard callouts but dynamic tactical positions that adapt to the pace of the round, the opponent’s tendencies, and the team’s economy.
A common example is the use of “off-angles,” where a defender holds a slightly unexpected position to catch attackers off guard. These advanced callouts evolve as the meta shifts, forcing teams to constantly innovate. For instance, the “Sandwich” position near A Site creates crossfire opportunities, while rotation fakes from Mid suggest map pressure without commitment. Pro players also employ information plays — controlled pushes or bait setups — that provide valuable insights without overextending.
Recent BLAST Premier and ESL Pro League matches showcased tactical diversity. Teams introduced new angles on Catwalk, or adjusted Ladder Room setups to counter fast B splits. Such innovations highlight how flexible communication and evolving callouts can redefine match outcomes.
Another layer of tactical depth comes from psychology, such as holding a column angle to surprise opponents. Off-angles and adaptive positioning increase pressure on attackers, forcing errors. Statistical analysis of opponents helps teams refine their setups, ensuring that callouts are not static but responsive to context.
Professional squads often create custom callouts for Mirage, tailoring them to their strategies and building consistency across rosters. This living callout meta continues to shape how Mirage is played at the top level.

Utility Executions & Nade Lineups
Utility is the backbone of competitive play. On Mirage, precise nade lineups Mirage decide whether an execution succeeds or fails. Professional squads rely on utility for information gathering, area denial, and creating safe entry paths. Learning lineups systematically and repeating them until they become muscle memory is a core part of training.
At the pro level, teams refine lineups through practice maps, scrims, and demo reviews. ESL and BLAST events often reveal new smoke walls or molotov tricks designed to block rotations or flush defenders out of cover. Utility economy also matters: saving one smoke or flash can delay a push long enough for rotations. Adaptive usage — counter-smokes, pop flashes, or late molotovs — can completely shift a round’s outcome.
Professional teams like G2 or FaZe develop signature executions tailored to opponents. Counter-utility is equally important, as missed timing or poor sequencing often costs decisive rounds. Step-by-step learning helps players build from simple smokes to full multi-grenade executions, always with the same goal: consistency and efficiency.

Smoke Executions for Each Site
Core Mirage smoke positions form the base of every site execution. On A, CT, Jungle, Stairs, and Triple smokes isolate defenders. On B, Market, Van, and Short smokes secure entries. Mid control relies on Window, Connector, and Top Mid setups. Coordinated team smokes, seen in BLAST Premier, ensure reliable timing. One-way smokes add tactical depth but require perfect practice.
Flash and Molotov Strategies
Well-timed flashes define professional play and can turn an entire attack into a decisive site take. Standard flash positions Mirage include Ramp to A, Balcony to B, and Top Mid flashes. Molotovs and grenade setups deny key spots like Firebox, Bench, and Default. Correct utility timing ensures synergy: flashes pop as pushes begin, while molotovs clear hiding places. Pro teams chain flashes to blind multiple defenders and add defensive retake flashes when needed.
Anti-eco and Force Buy Utility
Utility shifts in anti-eco rounds and force buys aim to eliminate close-range threats quickly. Molotovs and HEs punish close stacks, while smokes preserve map control. Force buy utility focuses on efficient trades — often one smoke to block vision and flashes to contest space. Strong economy management prevents overspending while still neutralizing eco risks. Top squads show how smart adaptation in low-buy rounds prevents surprise upsets and preserves momentum.
Esports Betting Insights & Map Knowledge
Deep map knowledge provides bettors with a clear edge. Tactical awareness on Mirage helps refine esports betting Mirage decisions, as teams with stronger communication often secure consistent wins. Understanding callout patterns and rotation timings improves tournament betting predictions. For detailed odds and live markets, explore Counter Strike bets with professional analysis. Insight into team preparation, seasonal meta shifts, and map specialization translates directly into sharper match predictions.
Professional Team Analysis for Betting
Professional teams Mirage data highlights G2 Mirage dominance in Mid control, while the FaZe tactical approach excels in A Site executions. Astralis introduced defensive setups that boosted win rates, and Team Liquid relies on structured comms. Such styles directly affect betting outcomes.
Live Betting Opportunities
Live betting Mirage markets reward tactical awareness. Recognizing tactical advantages like Connector control or failed utility shifts odds quickly in betting markets. Momentum swings and communication breakdowns often create profitable opportunities.
Tournament Predictions & Handicap Betting
Comprehensive map study enhances tournament predictions. Effective handicap betting uses team specialization and past performance data, while careful match analysis of formats reveals which rosters adapt best.
Learning & Training Methods
To learn Mirage callouts effectively, players need a structured approach, and consistent learning callouts practice builds confidence. Start with basic areas, then progress to advanced tactical names. Strong memorization techniques — visual association, spaced repetition, and practice in live games — help knowledge stick. Many pros combine aim training with callout review to build both mechanics and awareness.
Community workshop maps and mobile apps provide interactive practice methods, speeding up learning. Consistency is key: daily drills create muscle memory and improve communication. Teams often rehearse rotations and standardize callouts to avoid confusion. Reviewing demos, correcting mistakes, and tracking progress provides a clear passage to steady improvement.
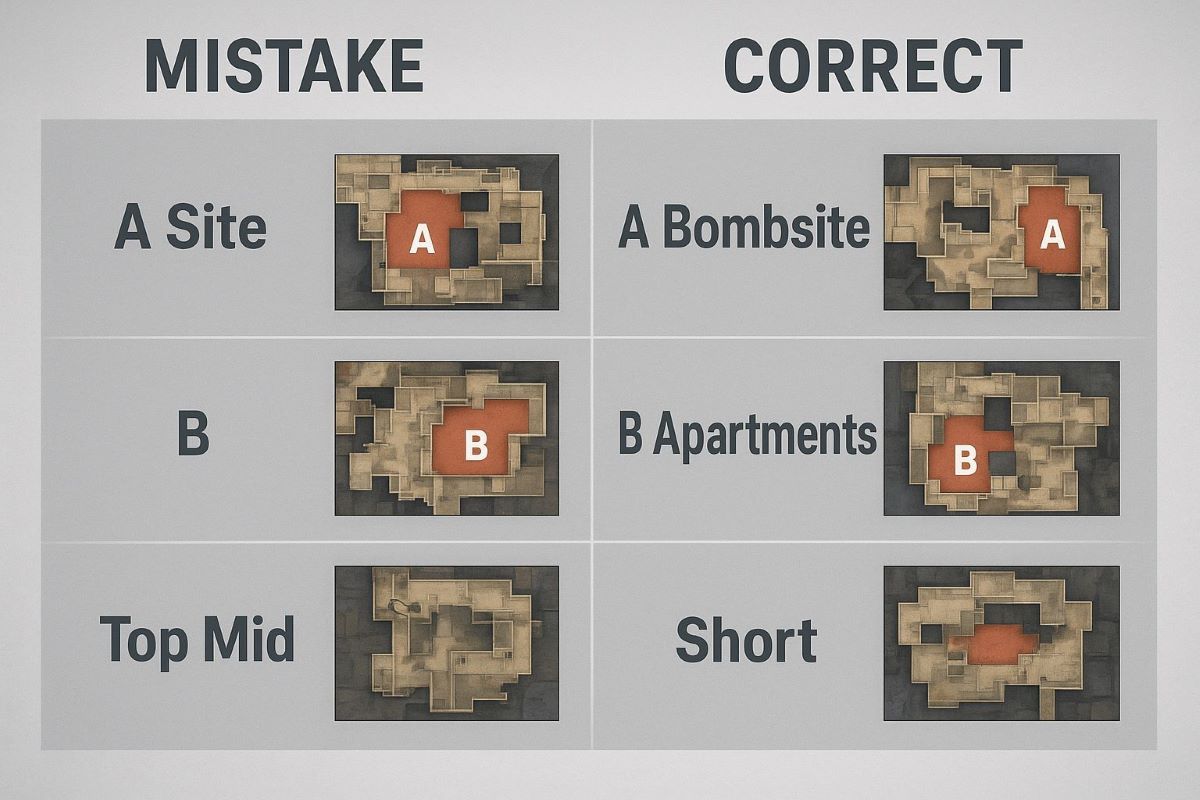
Common Mistakes & Fixes
Players moving from casual to competitive often use wrong Mirage callouts, creating confusion. Misnaming positions leads to costly communication errors and broken coordination. Inconsistent usage across teammates also disrupts flow, which is why teams standardize with proper terminology. Regional differences add complexity, while international rosters must unify language for clarity.
Panic during clutch situations causes rushed or incomplete info, while over-communication floods channels. Professionals stress concise balance and optimized voice chat. Lower-tier play shows frequent misuse, but structured practice fixes mistakes. Teams review demos, correct habits, and rehearse standardized comms.
Conclusion
Mastering Mirage callouts is essential for competitive success. Precise communication improves teamwork, execution, and tactical depth. For bettors, deep map knowledge connects directly to smarter esports betting and sharper match predictions. Ongoing practice, community resources, and coaching help refine Mirage callouts mastery, ensuring long-term skill growth and competitive achievement.