How to make your own map in CS:GO
To create your own map, you need to learn the basics of level design. This means that you should practice making simple maps before taking on more complex projects. The tutorial below is a great starting point for your journey into the world of Counter-Strike custom locations.
Get Hammer Editor
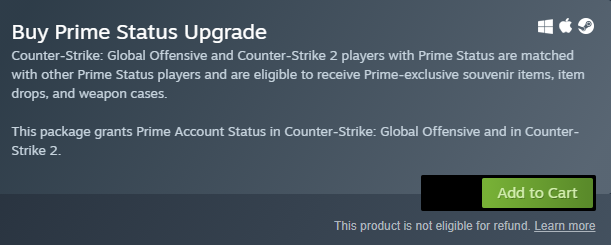
Although Counter-Strike: Global Offensive is a free-to-play game, it has many features that players have to pay for. The map editor is one of them. To be able to download it, you must have a Prime account. Its price is 14.99 $. Whether you think that’s cheap or expensive is up to you. The bottom line is that without Prime status, you won't be able to design maps for your favorite game.
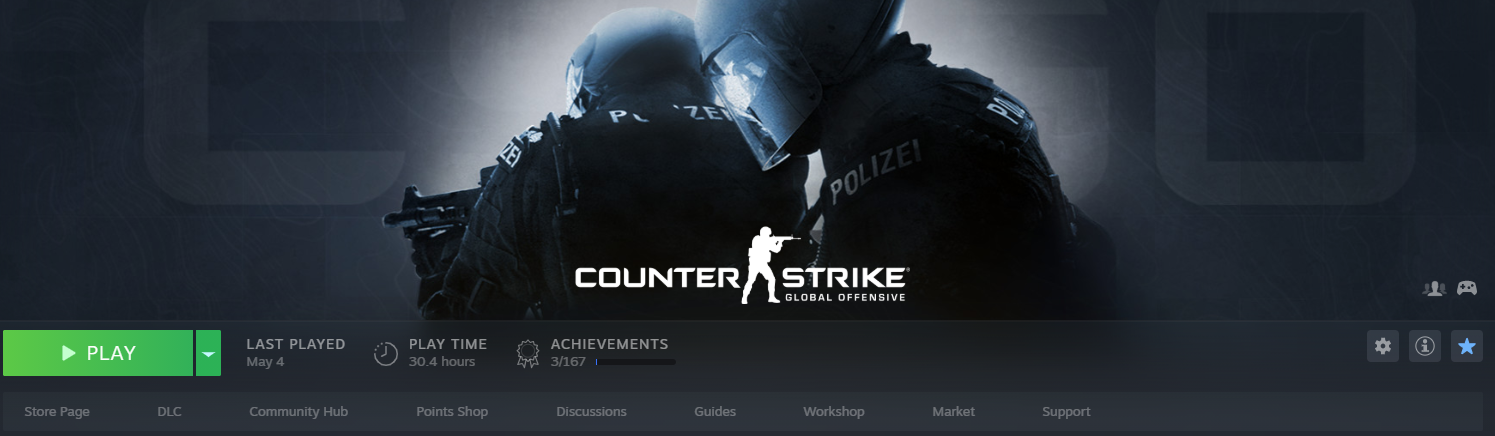
To upgrade your Counter-Strike account, open Steam, find the game in your Library, and click on the Store Page link there. Scroll to the "Buy Prime Status Upgrade" subsection, click on Add to Cart, and follow the instructions. As soon as you pay for your order, you can immediately download the map editor and start level design.
Launch CS:GO SDK
- Launch your Steam Client and go to the Library with your games. Find the link there to the page with the software you need. Its name must contain “SDK”. Click it. Your next target is the LAUNCH button.
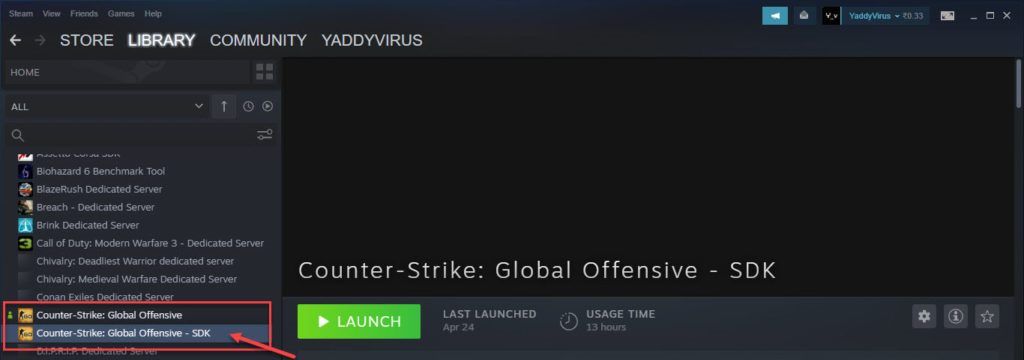
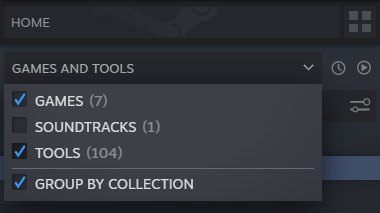
- If you've downloaded the SDK but don't see it in your Library, click on the dropdown list above the search form. Check the box next to TOOLS. A link to the SDK page should appear in the list.
Start the Hammer Editor
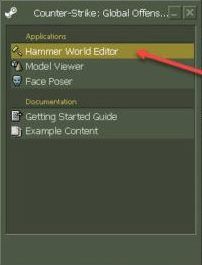
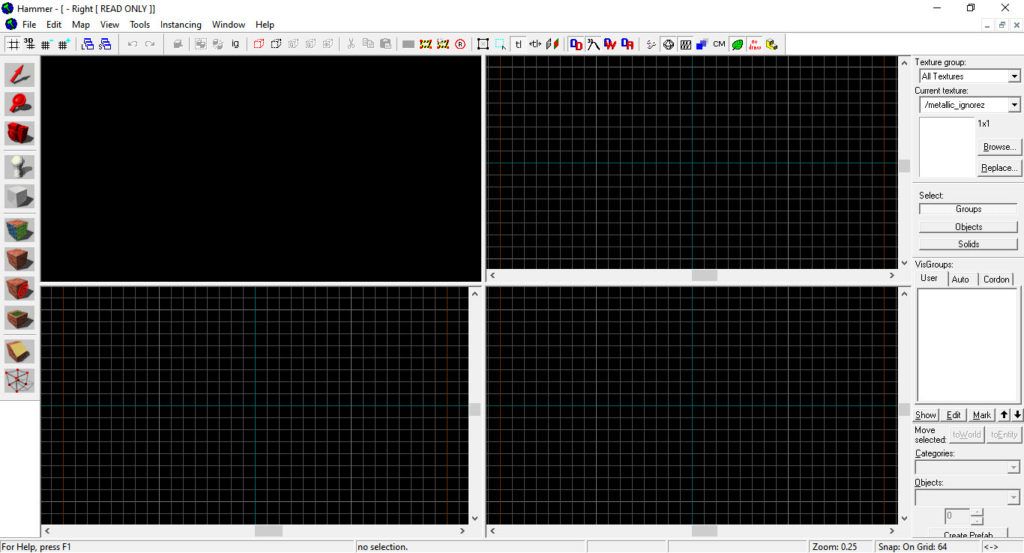
- When you launch the Counter-Strike SDK, you'll see a window similar to the left image below. You need to click on the Hammer World Editor. You'll see its main window shortly.
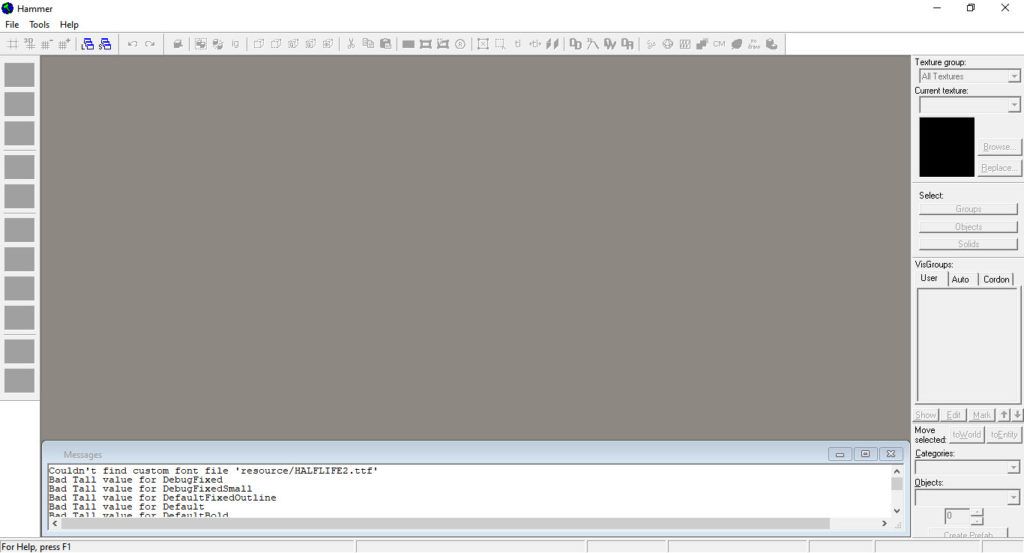
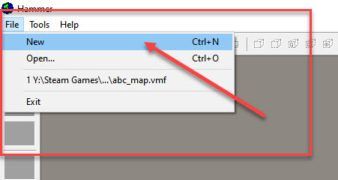
- It's time to start making your first map. Click File and select New from the dropdown menu. You can do the same thing if you use the hotkeys CTRL + N. In the top-left window, you can see a 3D preview of your level design. Other windows display different 2D views.
Create a floor
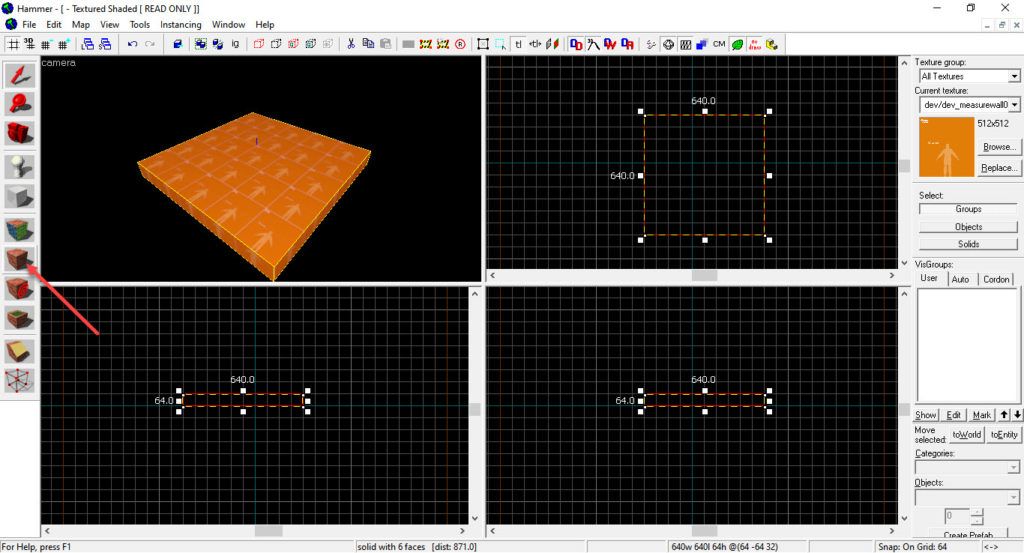
- To create a floor for your custom map, press the keyboard shortcut SHIFT + B. This activates the Block Tool. Go to any window with a 2D view. Let it be the top-right one. Click on any of its points, hold down the left mouse button, drag the cursor, and make a rectangular block.
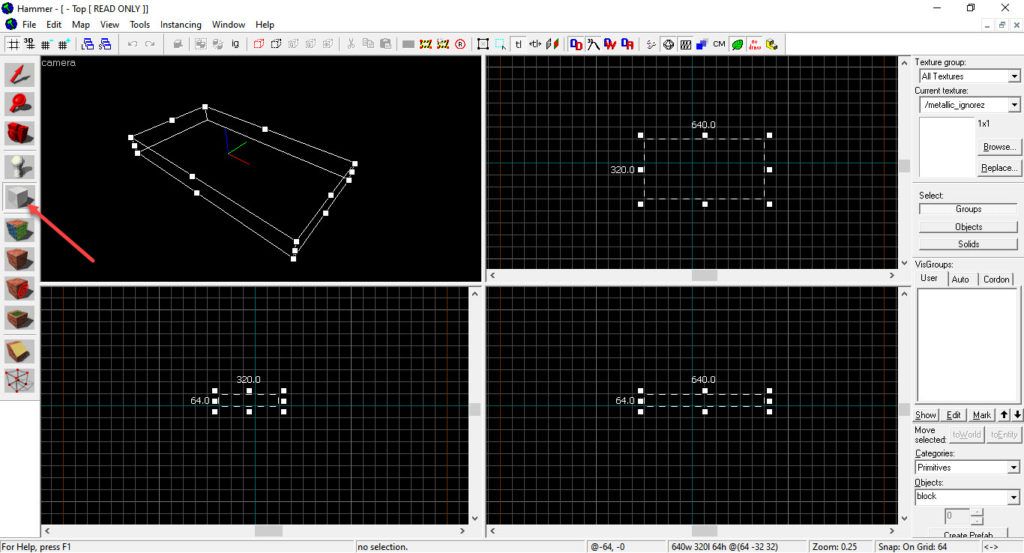
Notice the numbers on the sides of the resulting block. This is its length, height and width. The types of measurements depend on the projection.
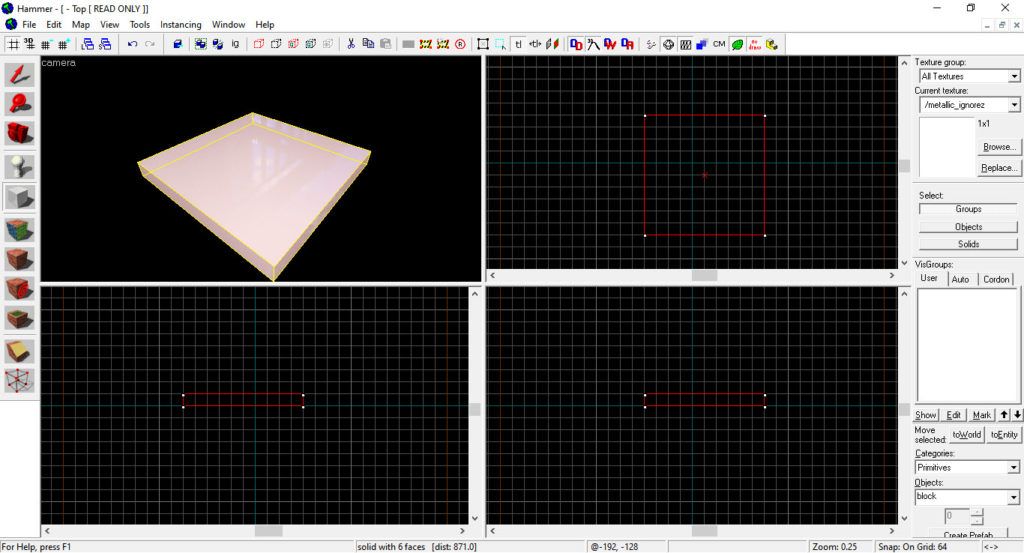
- Press ENTER. The floor of your future map is finalized.
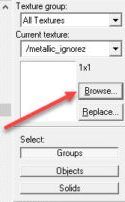
- Look at the right side of the map editor. The first section you'll see there is called the Texture Group. And you need the Browse button. Click it. Then find the texture named dev_measurewall01c. Select it. If you did everything right, its name will appear in the Filter field.
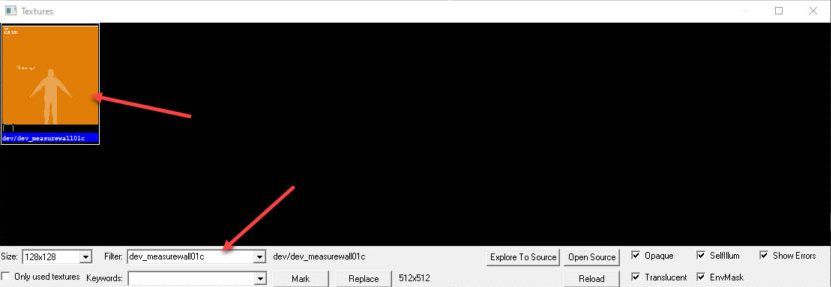
- Use the Apply Textures tool to redesign the surface of your floor. Now it's covered with a so-called developer texture, which will make it easier to design your map.
Create a room
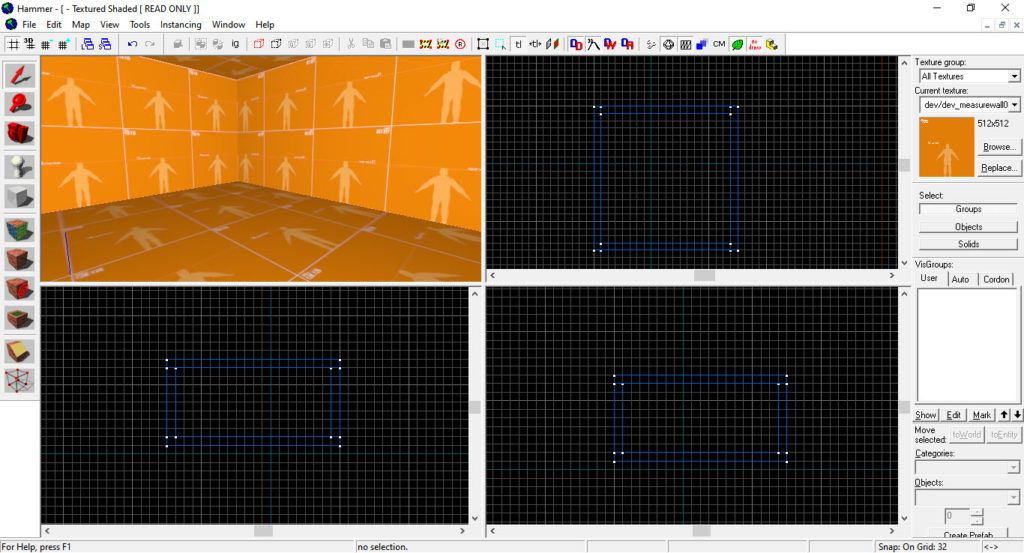
Let's start with the fact that any map in Counter-Strike should be something like a box closed on all sides. If you lose sight of this point at this stage of its creation, errors are bound to arise later. Therefore, create a room without a single hole.
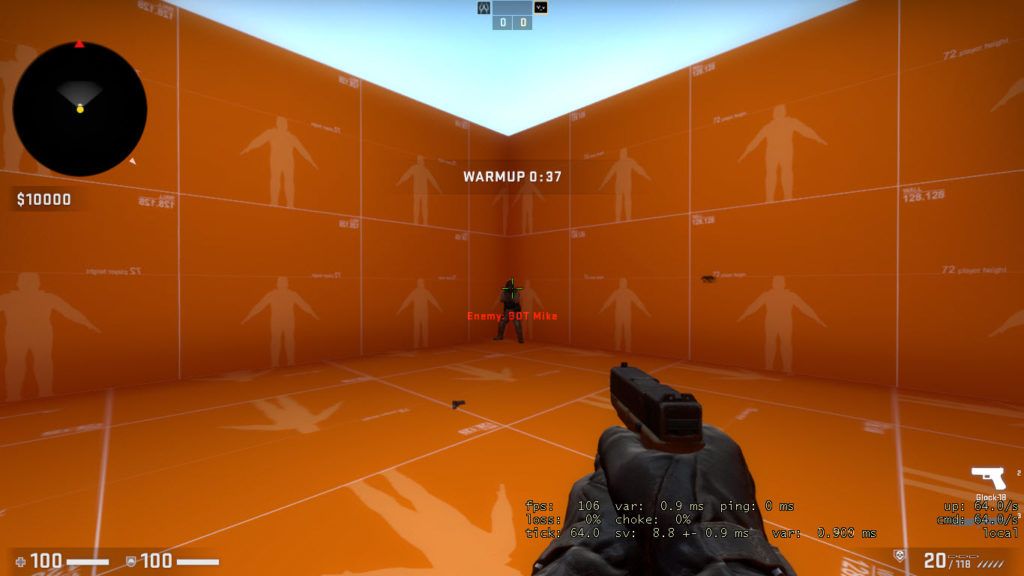
Now let's talk about the sizes of different game objects. They're measured in units. For example, the standard height of a playable character is 72 units. We recommend setting the height of the walls of the room as 128. As for the thickness, it ranges from 16 to 32.
To make a room which you can play inside, you must do the following steps. First of all, create the required number of blocks that will form the walls and ceiling. Once you've done this, align the new objects to the floor you made earlier. Use the following tips to make the process faster:
- Duplicate blocks. Select the block you want to dupe, press SHIFT, and pull the object in any direction.
- Test your map. Press and hold the spacebar. Go to the 3D preview window. When the crosshair appears on the screen, move using the default keys. Recall that they are WASD.
- Scale 2D views. Each level designer works not only with 3D previews but also with 2D views. You'll have to do this while you're creating your map. To zoom in or out on the view, roll your mouse wheel in different directions. To drag objects, hold down the spacebar and perform the necessary manipulations with them.
Create spawn points
If you've been playing Counter-Strike for a long time, you know very well that players appear in the same places at the start of matches. They're called spawn points or just spawns. To play on the map you're currently creating, it must contain at least one such object.
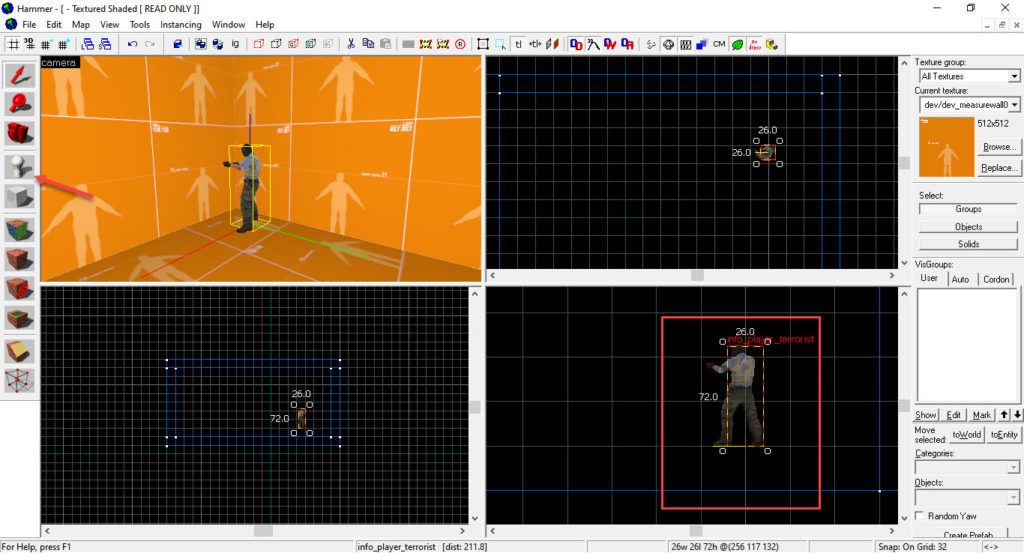
Spawn points can be added to maps very easily. Switch to the 3D preview window. Find the Entity Tool in the left panel. Choose a place on the map and click on it. Done! These actions can be quickly performed even by a novice level designer.
Note that spawns shouldn't overlap with different map objects. For instance, if you place them inside the walls, you'll deprive the characters of the ability to move. You won't be able to play in this location. It's better to solve this issue now so as not to redo it later.
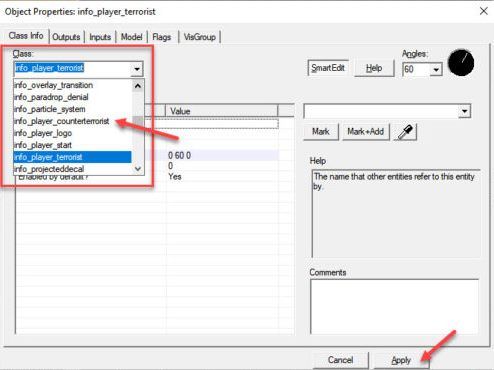
When you add the first spawn, it's usually for the Terrorist team. To place a Counter-Terrorist point on the map, create another spawn. Once you've done that, double click on it in the 3D preview window of the editor.
You need a dropdown called Class. Currently, the info_player_terrorist item should be selected there. Your task is to choose info_player_counterterrorist. All that's left to do is to click on the Apply button. Spawns for your map are ready!
Add textures and light
The job of a level designer is not only to create the concept of the location, but also to develop the game environment. Let's take care of this. We suggest starting with the creation of the sky. This is a fairly simple and fast task to complete.
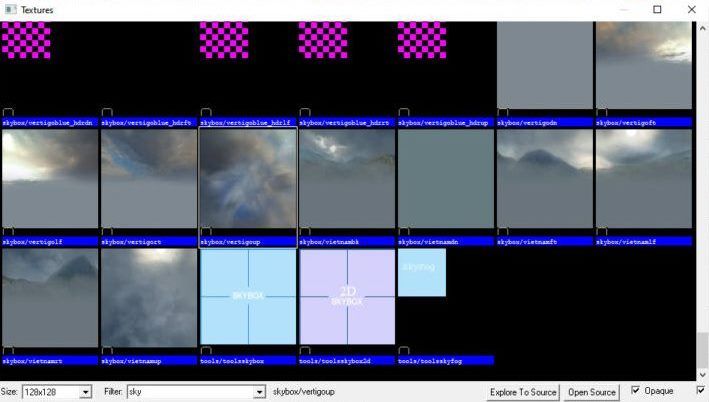
To create the sky, select the block that is the ceiling of your room. Click Browse in the Texture Group. In case you forgot, this is on the right side of the map editor window. Select the texture for the sky that you like the most and apply it to the previously selected block.
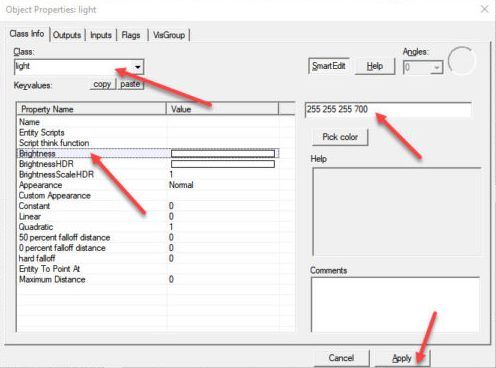
Well-tuned lighting is an integral part of any modern game. Let's set it up on your map as well. Light sources are created in the same way as spawns. You just add a new object and set the Class option to light. This usually takes 10-20 seconds.
There are many game lighting options. We won't delve into their description because it would make our map much more difficult to create. The fact is that even a 1000-page textbook isn't enough to tell about all the features of game lighting.
If you want to make Workshop maps that will be downloaded by hundreds of Steam users, you'll have to learn all the lighting settings. For now, focus on Brightness, which is configurable with 4 numbers (255, 255, 255, 700 in the image above). Click Apply when done.
Test your map
- To test your map, you must first compile it. To start this process, press F9. When finished, save it under some name. Your final step here is to press Save.
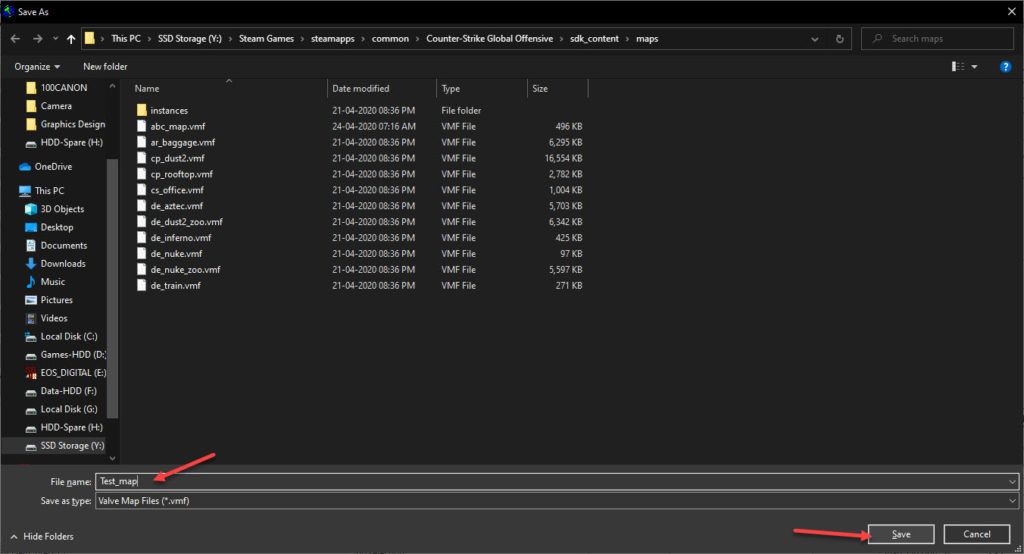
- Click Go in the window that opens. If you followed our guide and didn't make any mistakes, CS:GO will start in debug mode. Test your map and share it with your friends. Congrats, you've taken the first step towards mastering the art of creating superb locations!
How to Add CS:GO Workshop Maps to Your Server
If you play on the official servers, you should have no problem downloading the Workshop maps to your computer. However, some problems can occur when playing on private servers. To avoid them, we advise you to carefully read the info in this section. We'll show you here how to add a custom map to your own server. To do this, follow the instructions below.
Find a map ID
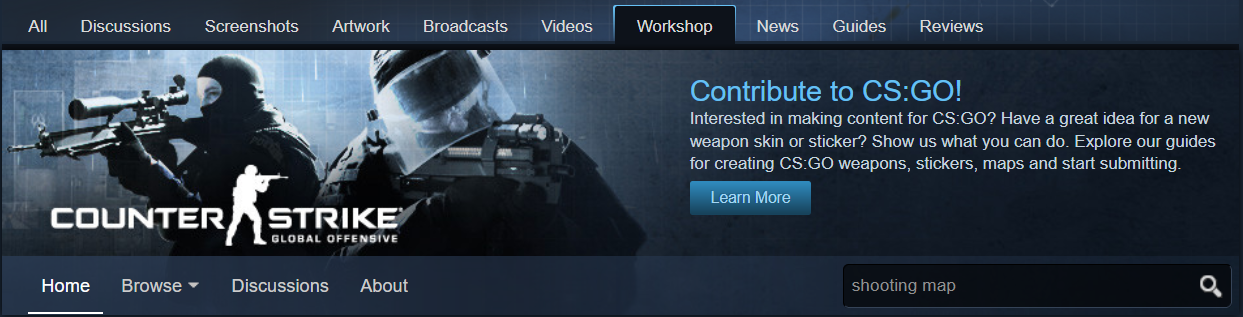
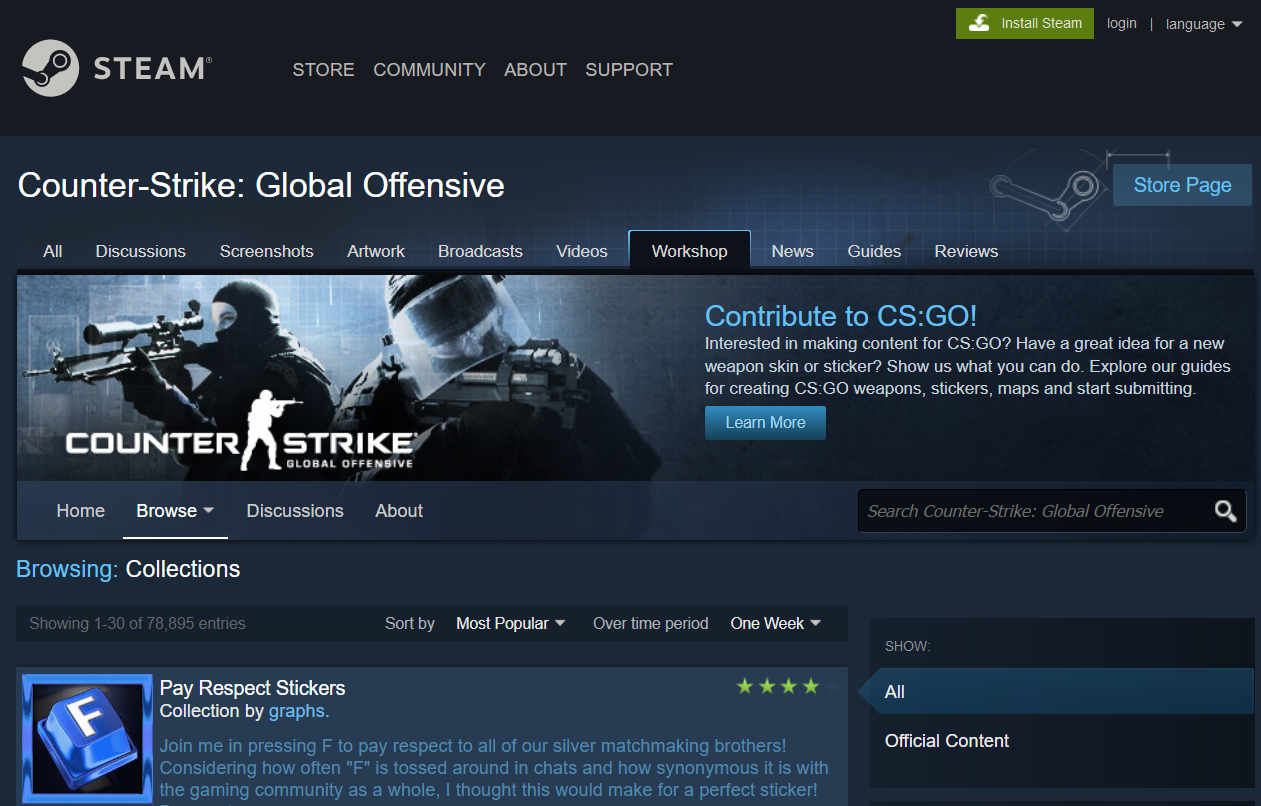
- Open the Steam Workshop in your browser.
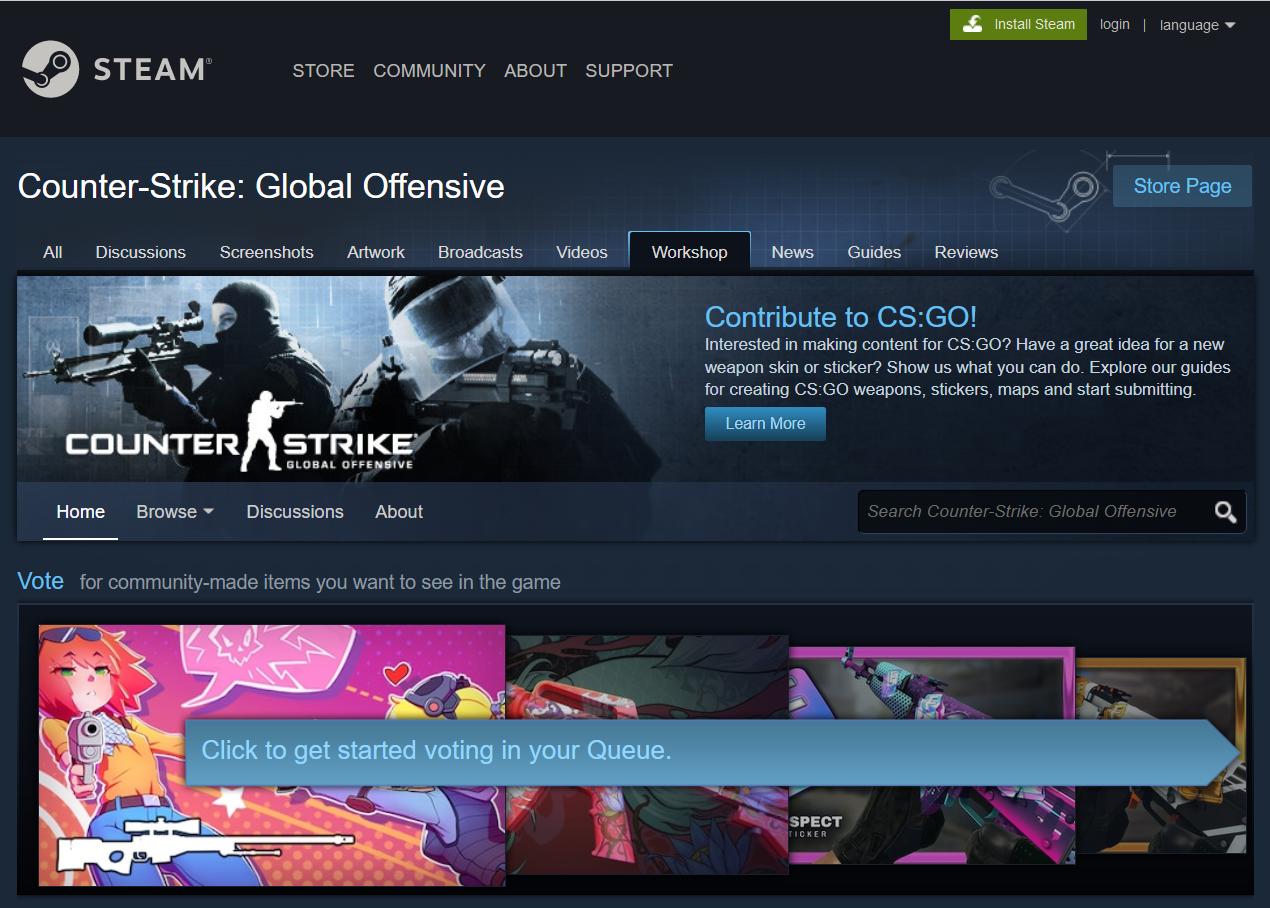
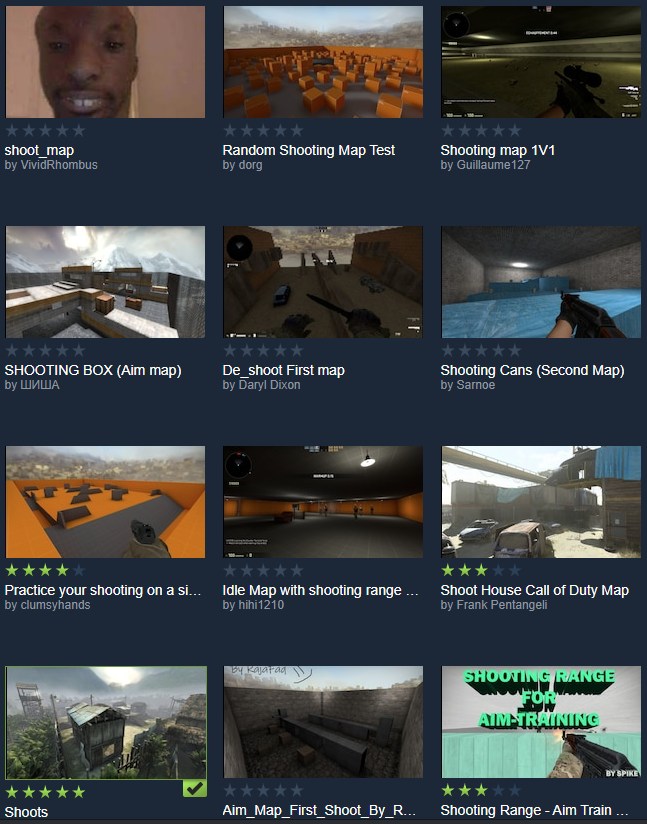
- Enter in the search form the name of the map or some keywords that describe its main features.
- Click on the name of the map you want to download. In our case, it's Shooting map 1v1.
 Notice the page URL. You must copy the numbers that come after the id parameter. Save them to a text file so you don't lose them.

Find a collection ID
- You can also add collections of workshop maps to your server. To make this possible, you'll need to copy their ID. Follow this link. By clicking on it, you'll be taken to the Steam Workshop.
- Select the collection you need and click on its name. Let's take Clutchman as an example. Note that you can find collections by their names using the search form.

- Copy the value of the id parameter from the URL of the collection. To prevent data loss, create a new text file and paste the numbers into it.

Create a collection
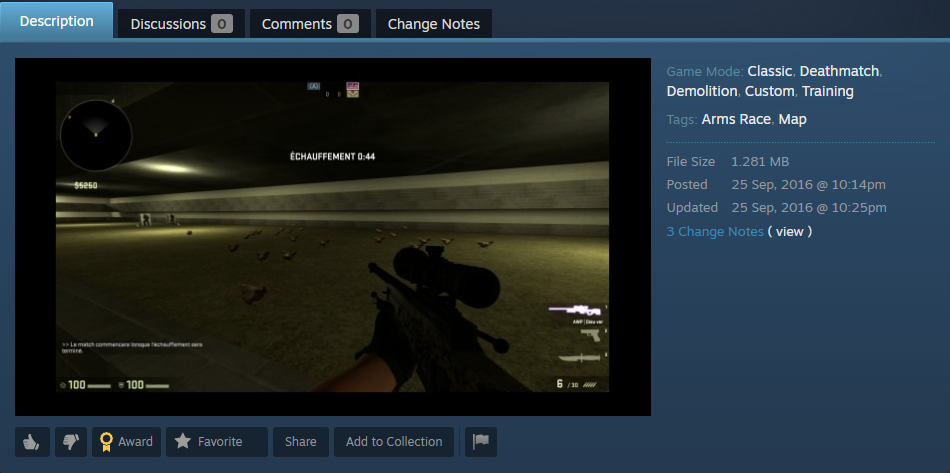
- Launch Steam, go to the Library, click on the name of the game, and open the Workshop. Find the map you need and go to its page. Click the Add to Collection button which is at the bottom of the Description block.
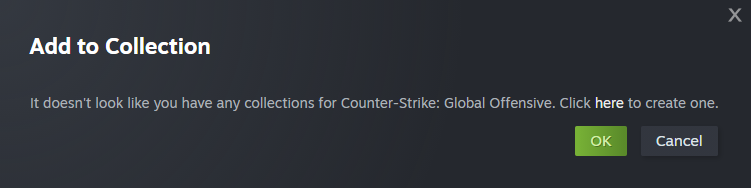
- If this is your first collection, Steam will prompt you to create a new one.
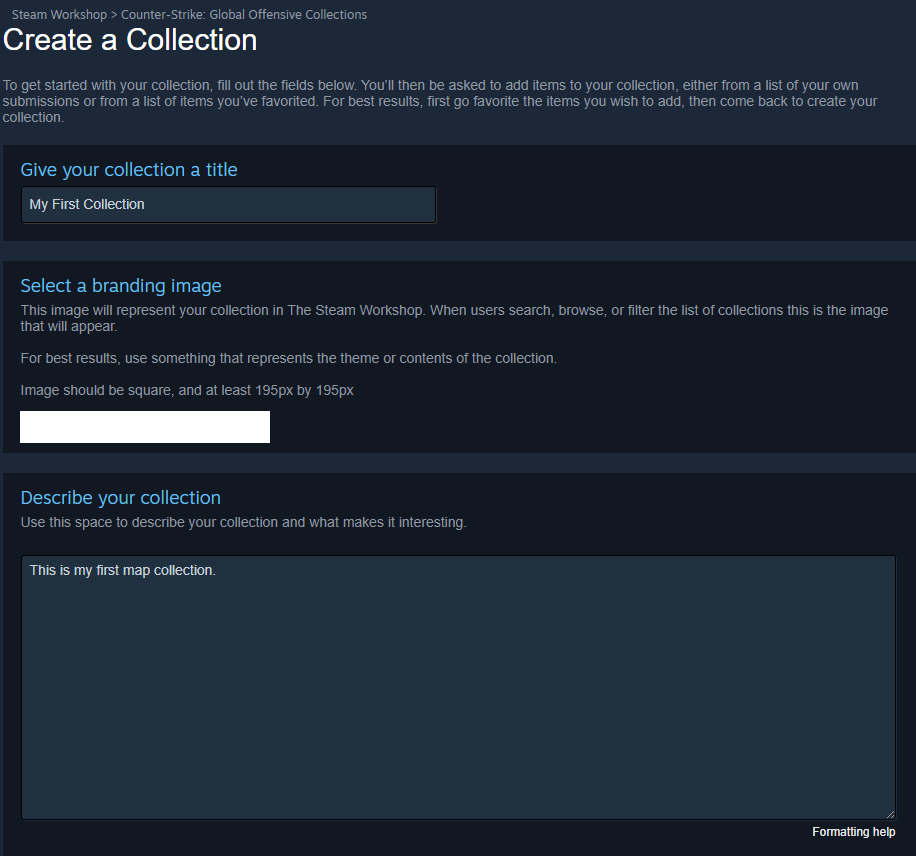
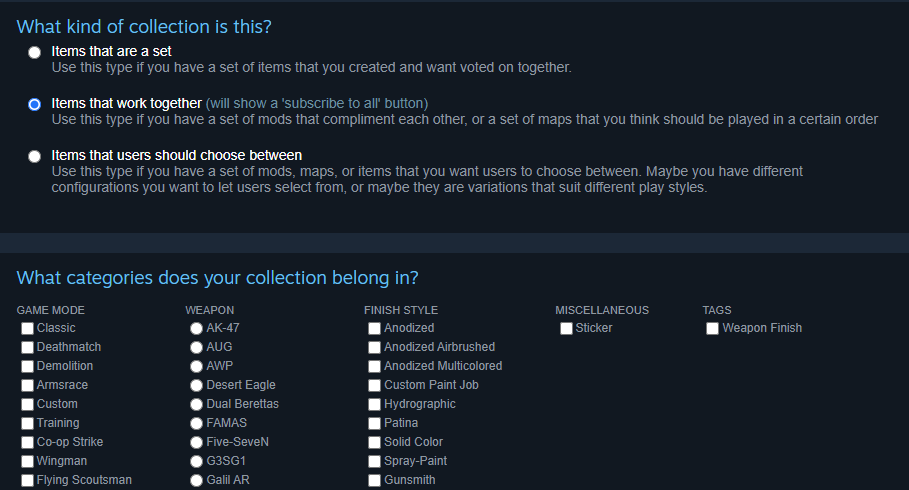
- Specify a name and description for the collection. Plus, choose an image that will represent it. If you scroll down the page, you can additionally select the kind and categories of your new collection. At the last step, click on the Save and Continue button.

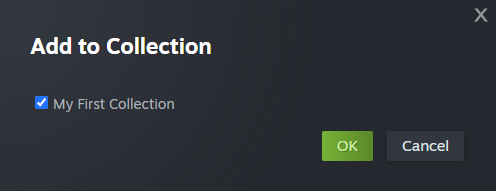
- Return to the map page and click on Add to Collection. Check the box next to the name of the collection you created earlier and click OK.
- Add other maps to your collection.
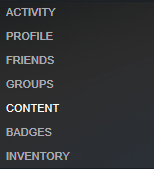
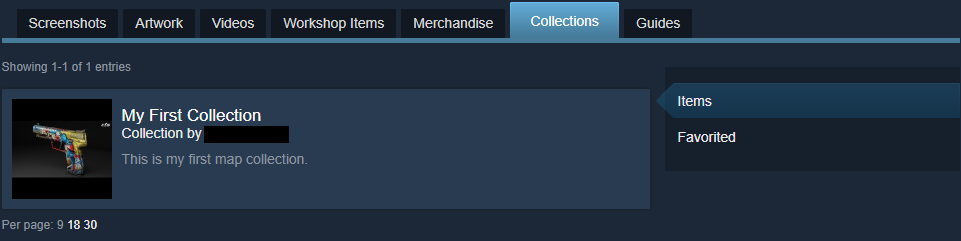
- To view your collection, hover over your nickname in the top menu and click CONTENT.
- Go to the Collections tab. Click on the name of the collection you need.

Load maps onto your server
You can upload maps and their collections to private servers. Although both methods are very similar, each of them has its own features. Let's talk about them in more detail.
Map loading at server start
- Go to the control panel of your server. Stop it.
- Open the server settings page where you can edit config files. You need the file that is responsible for Counter-Strike: Global Offensive server settings. Click its name.
- Find a field like Host workshop map. Copy the map ID there.
- Save your changes of the settings.
- Restart the game server.
If after some time you want to change the current map to another, you can use the server console. You'll need to do the following steps:
- Open your control panel.
- Start the CS:GO server.
- Launch the console and type something like host_workshop_map [MAP_ID]. The new settings will take effect immediately.
Load collections onto your server
- Stop the server using its control panel.
- In the config section, find the file with the game server settings. Open it for editing.
- Your target is an option like Host workshop collection. Enter the collection ID in its associated field. Optionally set the ID of the start map.
- Save your settings and start the server.
Depending on the hosting, various options may have different names. Despite this, the steps described above are the same. You must find a map ID, copy it, etc.
If something doesn't work for you, contact your hosting support. The experts should quickly resolve your issue. Have a good game!
FAQ
How do I make custom maps for CS:GO?
Buy Prime status to upgrade your account and download the CS:GO SDK. Thanks to this software, you can create custom maps and share them with your friends or other gamers.
How do I upload a map on CS:GO?
Use the Workshop Map Publisher from the CS:GO SDK. If you're playing on your own server, you don't need to upload anything yourself. Just find the map ID and specify it in the server settings. The server software will do all the dirty work for you.
Is CS:GO SDK free?
No. To install it, you must purchase Prime status. To buy it, log in to your Steam account and go to the CS:GO page. Find the item you need there, add it to your cart, and pay for your order. It will cost you almost exactly 15 $.