CS2 1v1 battles let two players settle weapon disputes, sharpen aim mechanics, and practice dueling scenarios without competitive pressure. Counter-Strike 2 replaced CS:GO in September 2023, changing how private matches and 1v1 sessions are created.
Three methods now exist for running a CS2 1v1: Workshop maps hosted directly in-game, console commands entered through a config file, and community servers requiring no setup. This guide covers all three.
You will find a full command list, a step-by-step config setup, map recommendations, troubleshooting fixes, and a FAQ section addressing the most common 1v1 questions in CS2.
How to 1v1 in CS2?
Step 1: Download and Set Up the Config File
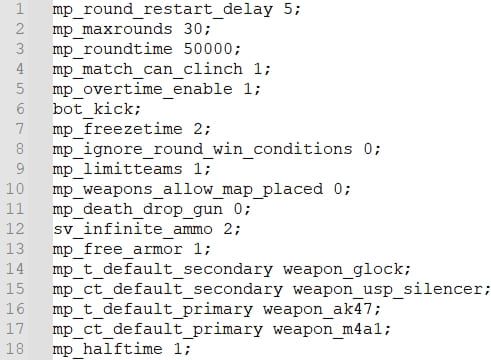
Your first step is to download a special config file. It contains some commands that are required to launch a 1v1 server. Creating the config manually requires knowledge of dozens of CS2 commands — downloading the ready-made file saves that time entirely.
Config files from CS:GO are fully compatible with CS2 — the command syntax is unchanged.
- Download our config file. Just click on this LINK and save 1v1_commands.cfg to your Desktop or another directory.
-
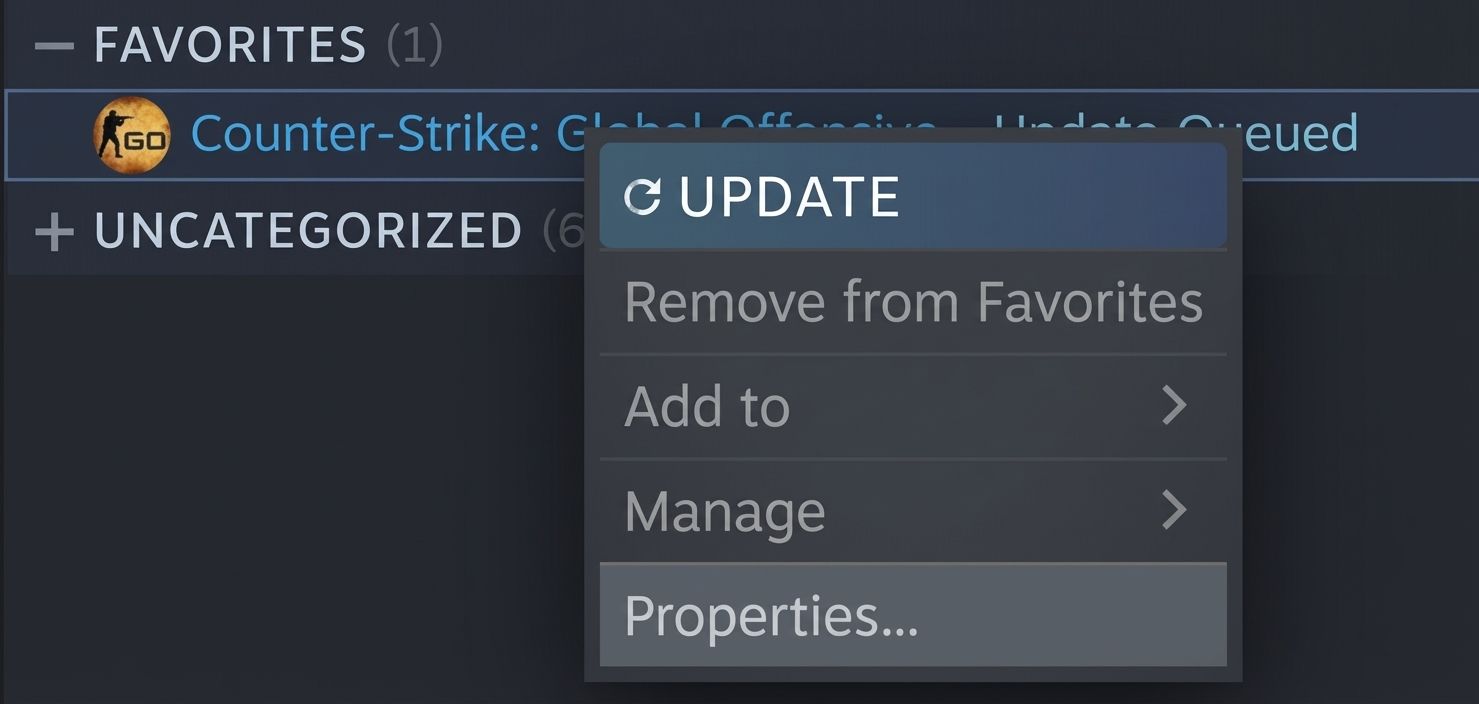
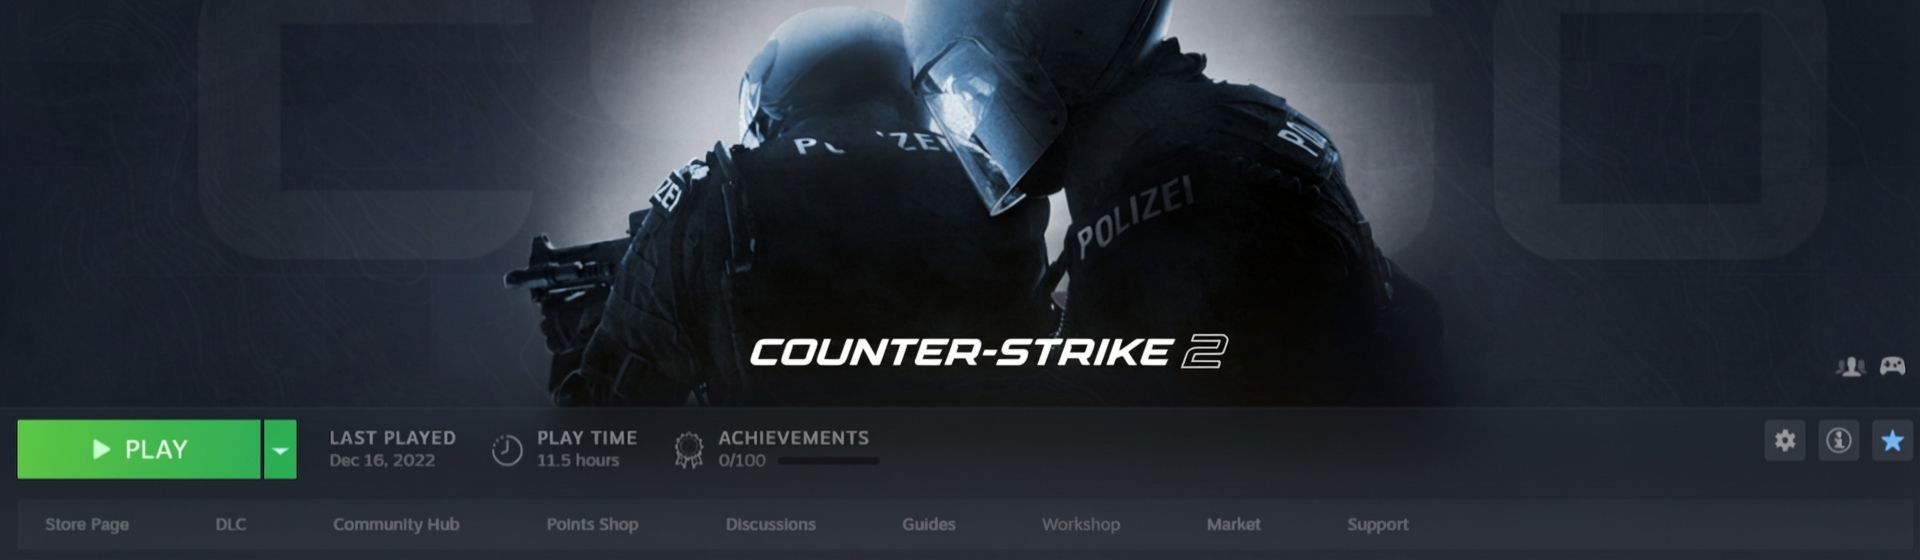
Now, you must copy the downloaded config to the CS2 folder. To do this, open your Steam Library and find Counter-Strike 2 in the list of your games. Right click on it and select Properties.
- Go to the Installed Files section. Click the Browse button there. Make sure the correct folder that contains the game files is opened.
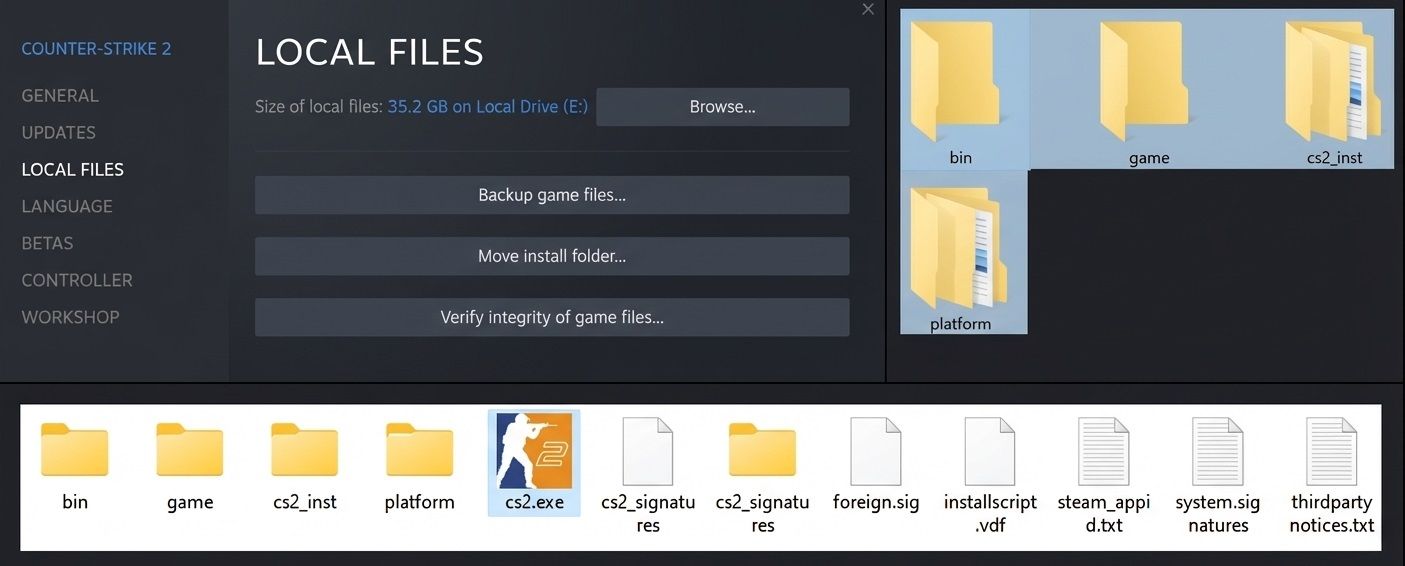
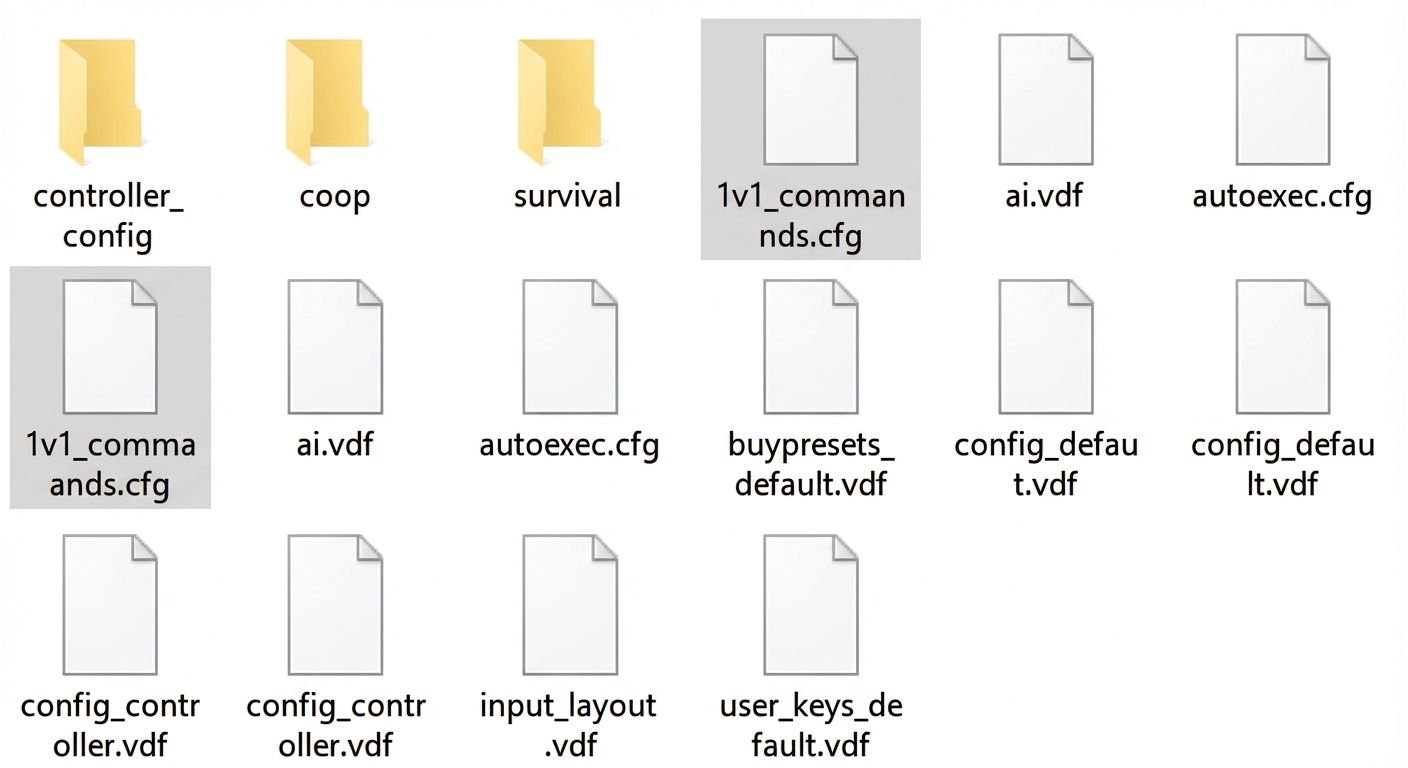
- To get into the config folder, go to game, then csgo, then cfg. As a result, the main part of the final path should look like this: steamapps\common\Counter-Strike 2\game\csgo\cfg
- Copy the config file you downloaded earlier and paste it into the cfg folder. The first stage of preparation for the game on 1v1 maps has been successfully completed!
Pro Tip: Creating config files saves time — you can reuse them across multiple sessions without re-entering any commands.
Step 2: Choose a 1v1 Map
You can choose any default map and play it in the 1v1 game mode. However, Workshop Maps are much better. Some of them are so well balanced that they don't provide significant advantages to either side. These are excellent arenas for showdowns with friends.
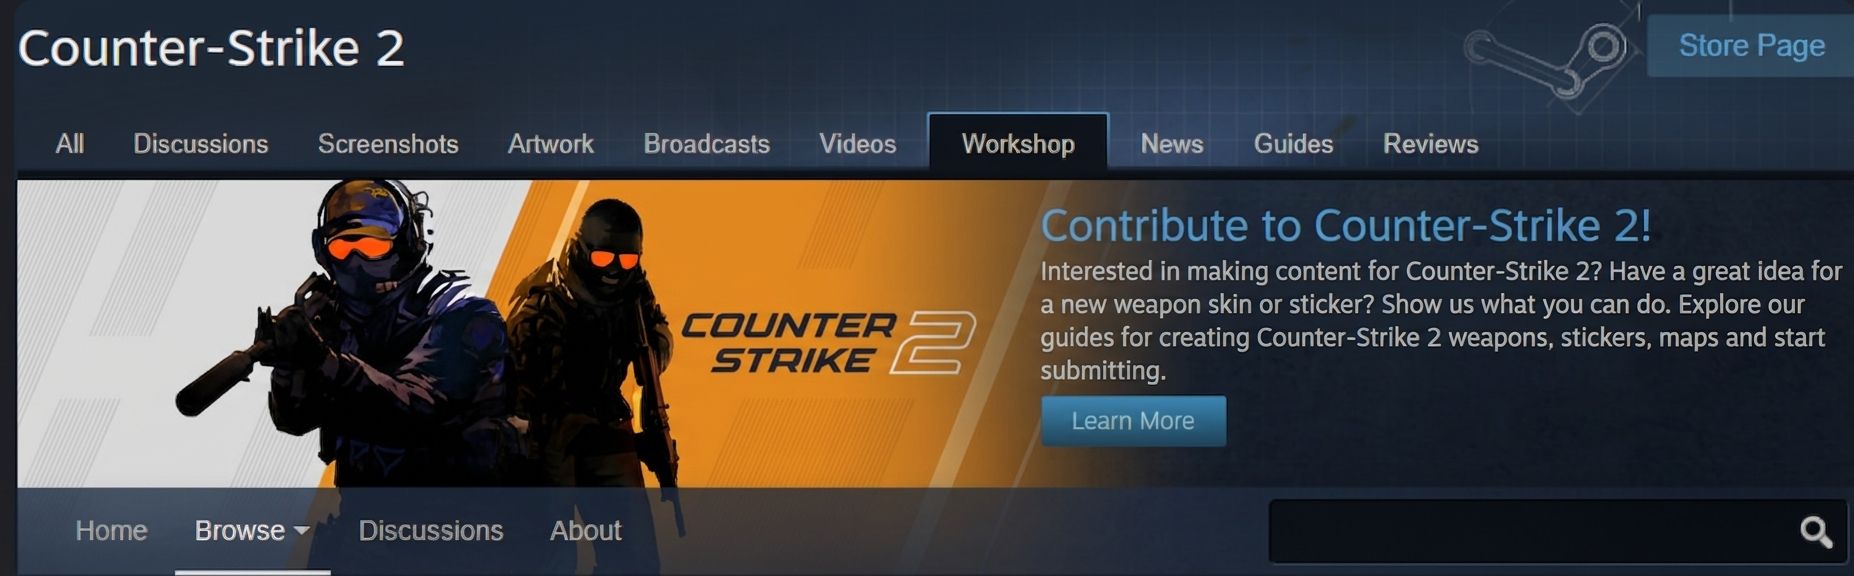
- Go to the game page in Steam and find the Workshop section there.
- Hover over Browse and select Maps from the drop-down list.
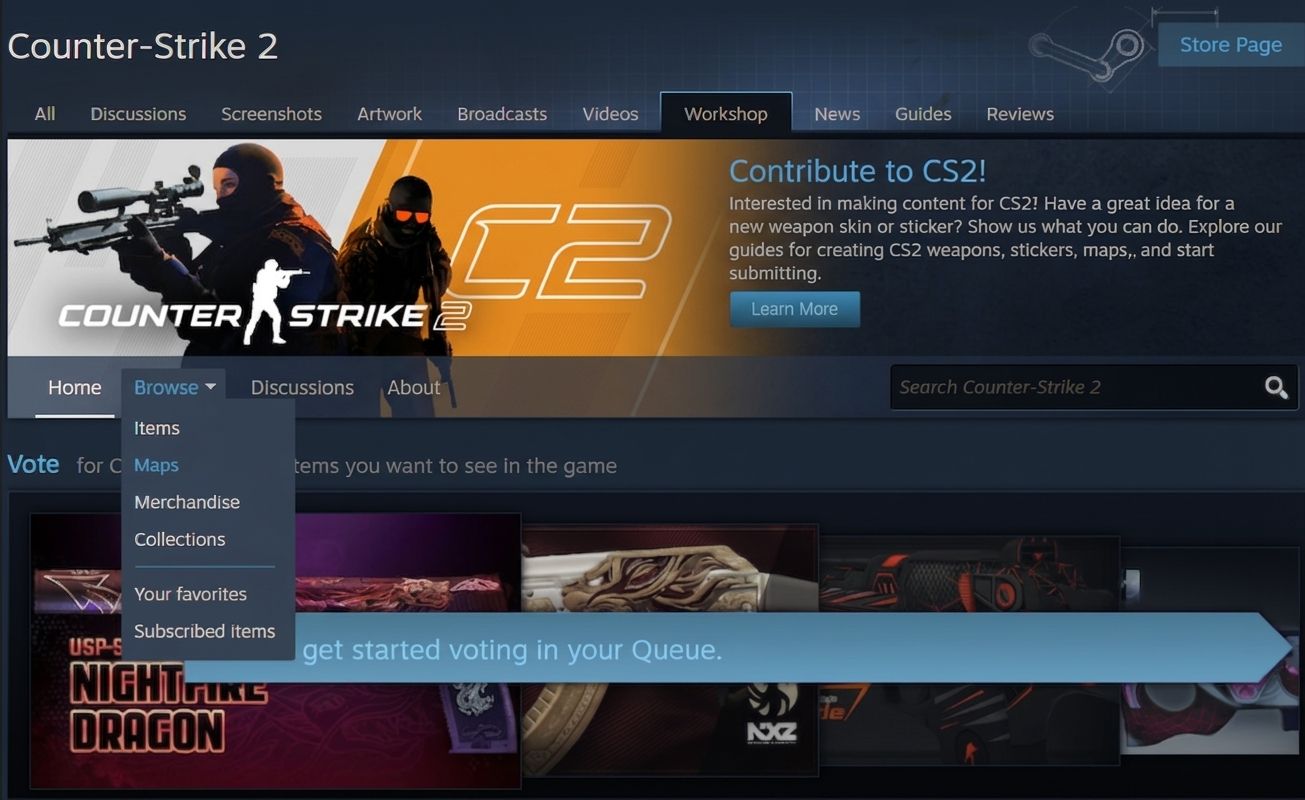
- In the Workshop Map tab, select the search field by clicking on it with the left mouse button. Enter the text "1v1 map" there. Press enter.
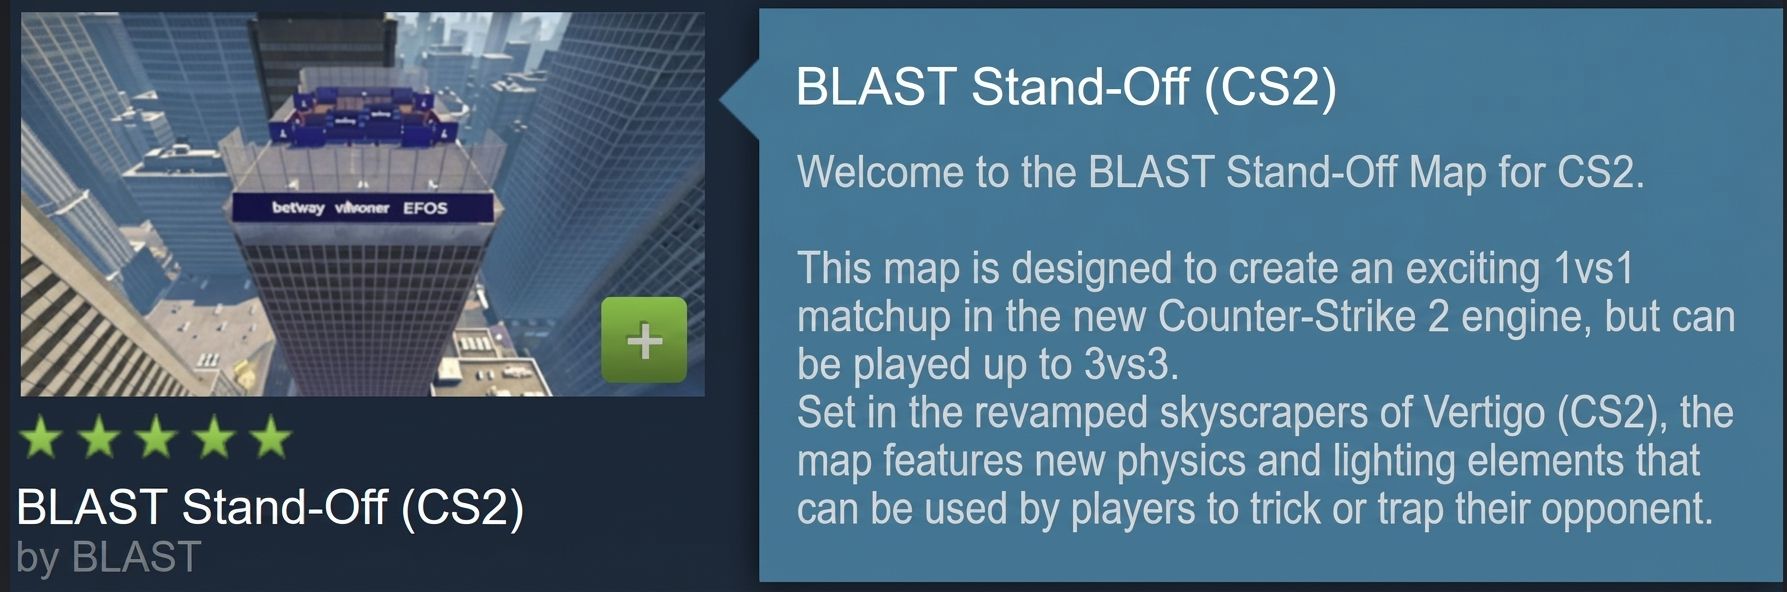
- Select the desired map. You can also search for BLAST Stand-Off — a map actively used by professional CS2 players and featured in BLAST Premier showcase matches.
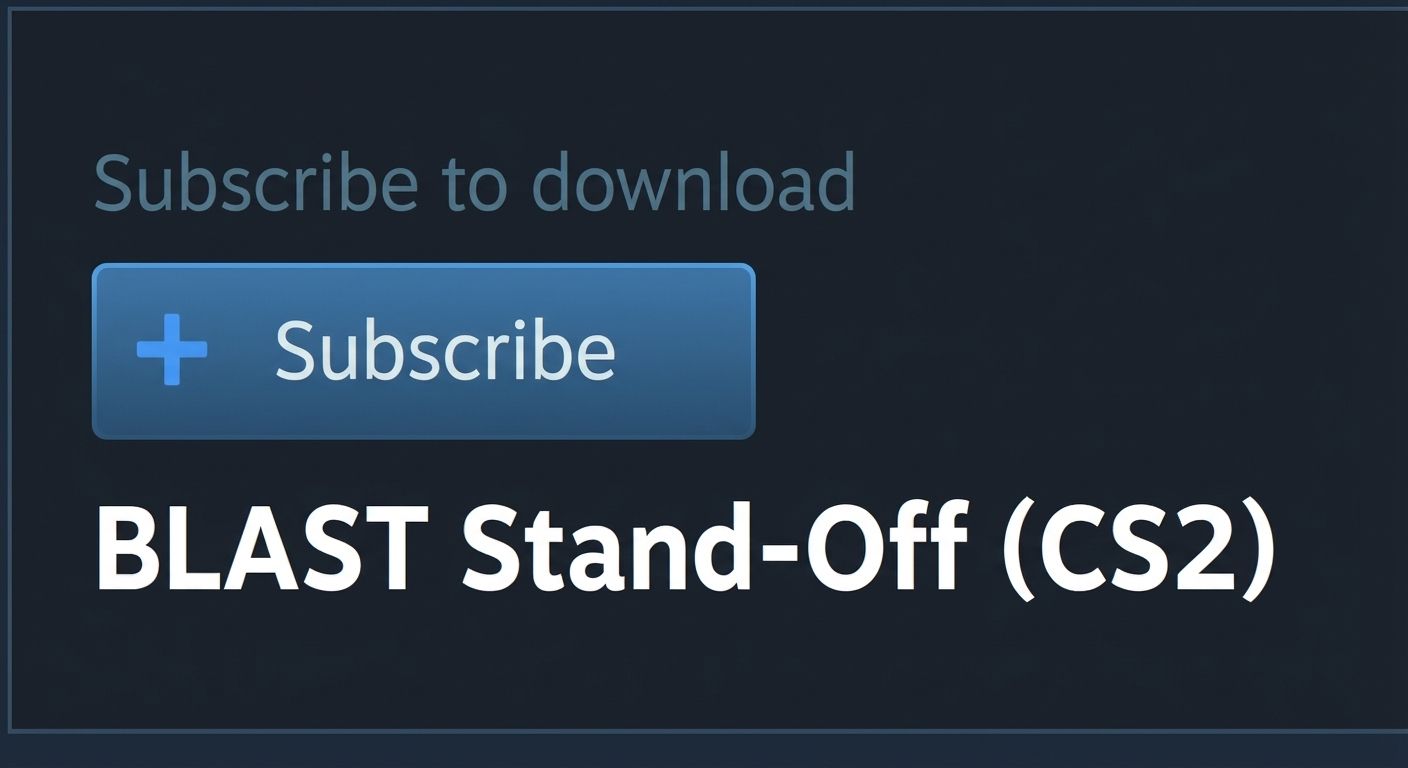
- When you find a map in the Steam Workshop, go to its page and click Subscribe.
Let's summarize our progress thus far. At the moment, you have a cfg file with optimal setup for a private server, and one or more maps to play in 1v1 mode. Now let's go to the final step.
Step 3: Start 1v1 game
- Launch CS2 and create a lobby with your friend.
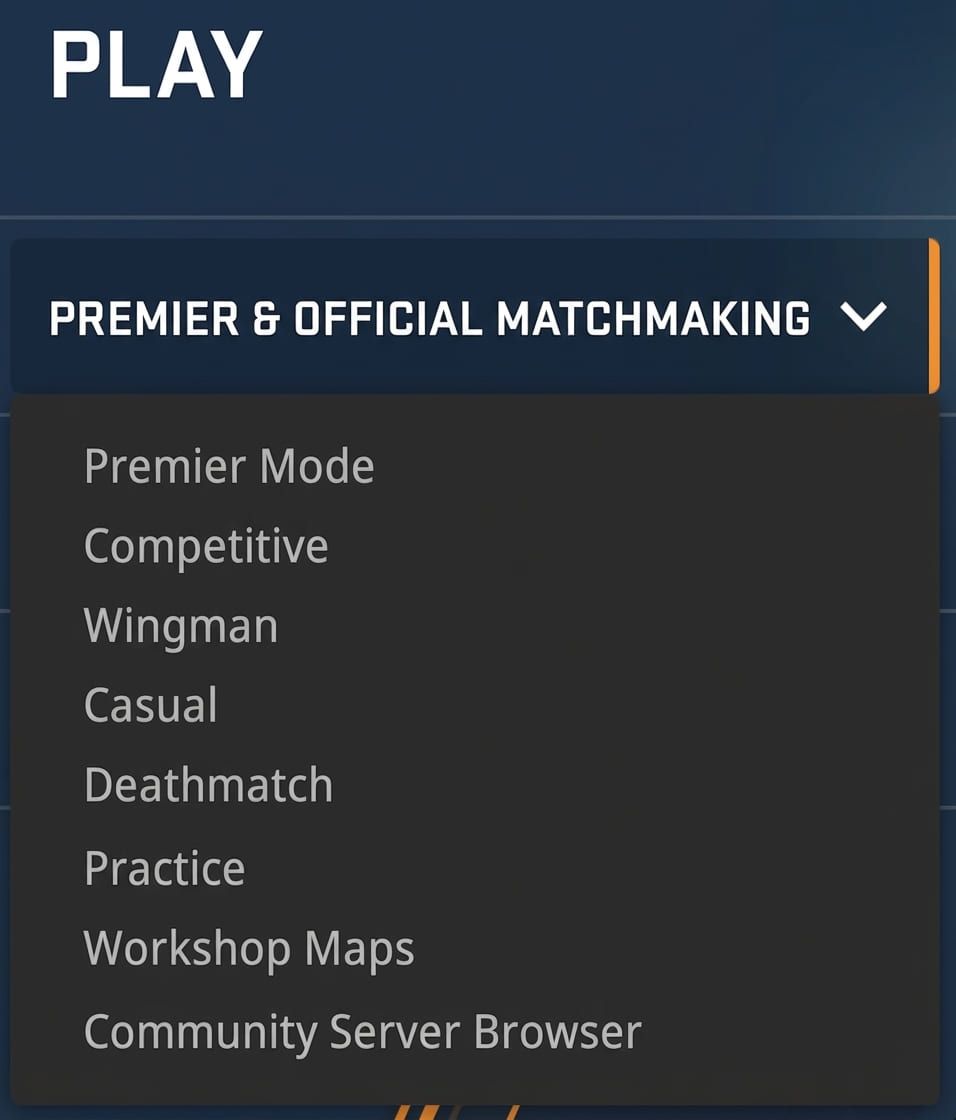
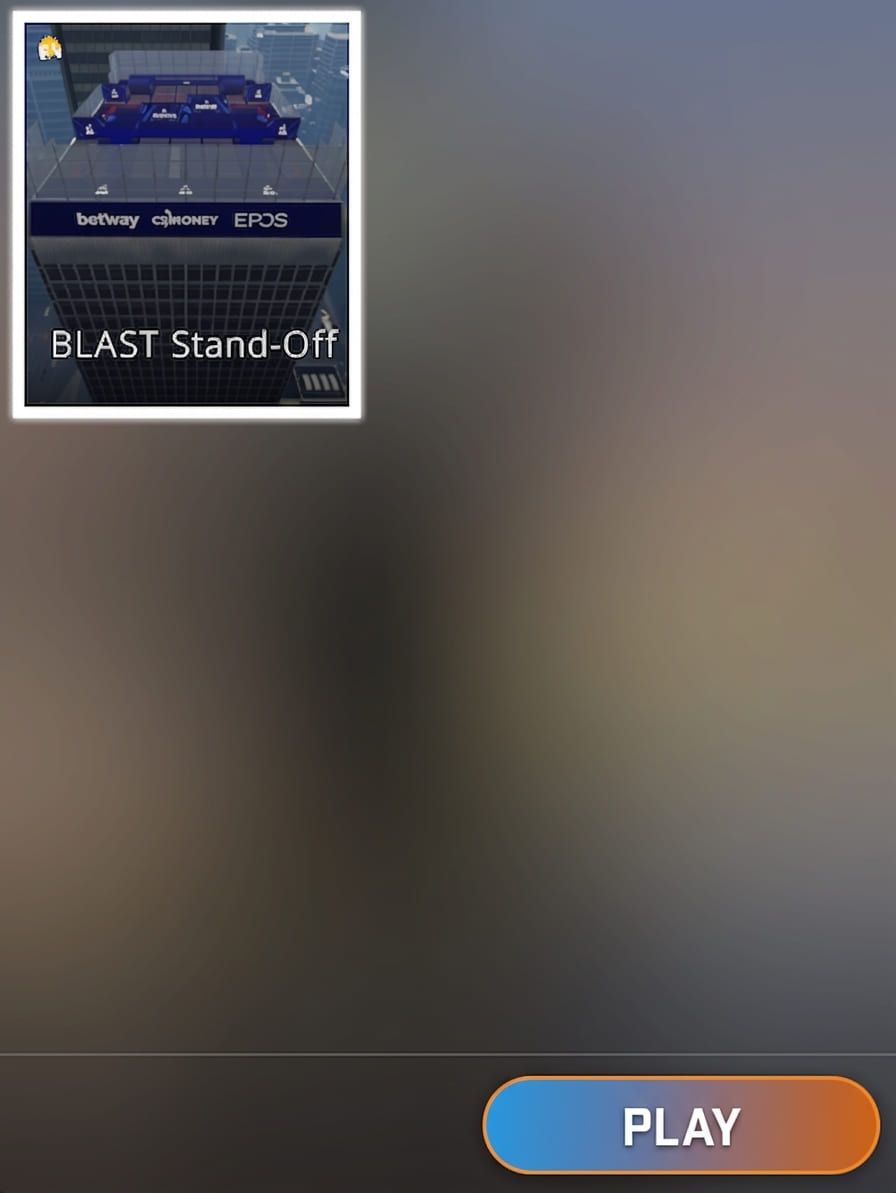
- Go to the Play section. In the drop-down list under Play, select Workshop Maps.
- Select a map and click on the Go button.
- Wait for the map to load and open the developer console (~, also called the tilde key). Enter the command below:
exec 1v1_commands

This will initiate the config file that you downloaded earlier and then copied to the game folder. Now it's time to play!
As you can see, there is nothing complicated about creating your own server for games with friends. The only problem you may encounter is the inability to open the developer console. Follow the instructions below to solve it.
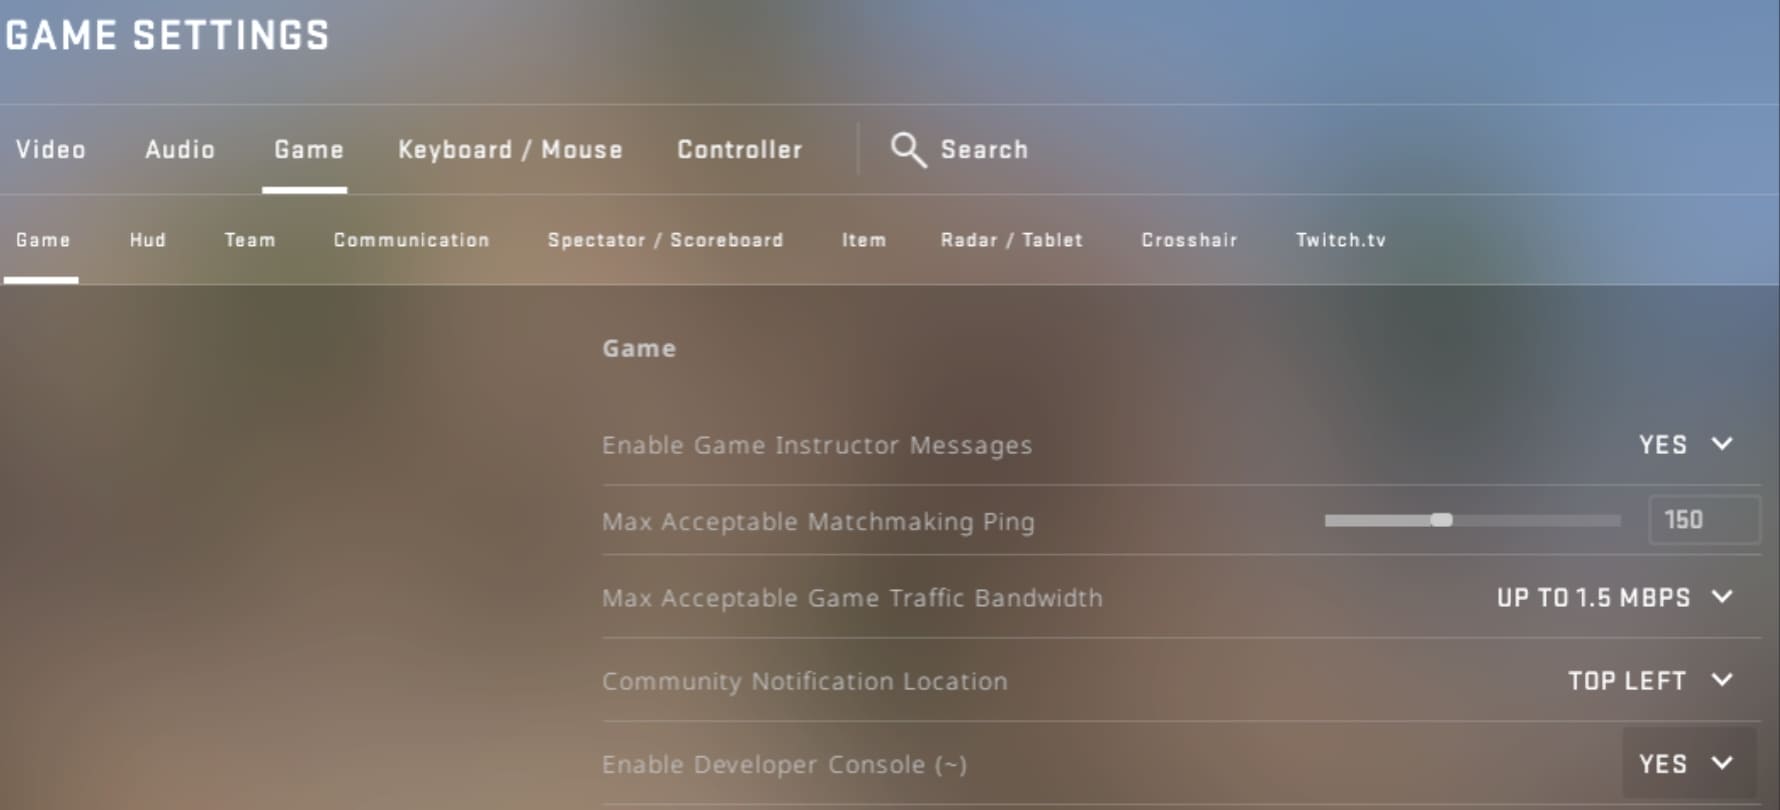
- Go to the Settings menu. Click Game and then select the Game subsection. Find the Enable Developer Console option there. Its value must be Yes.
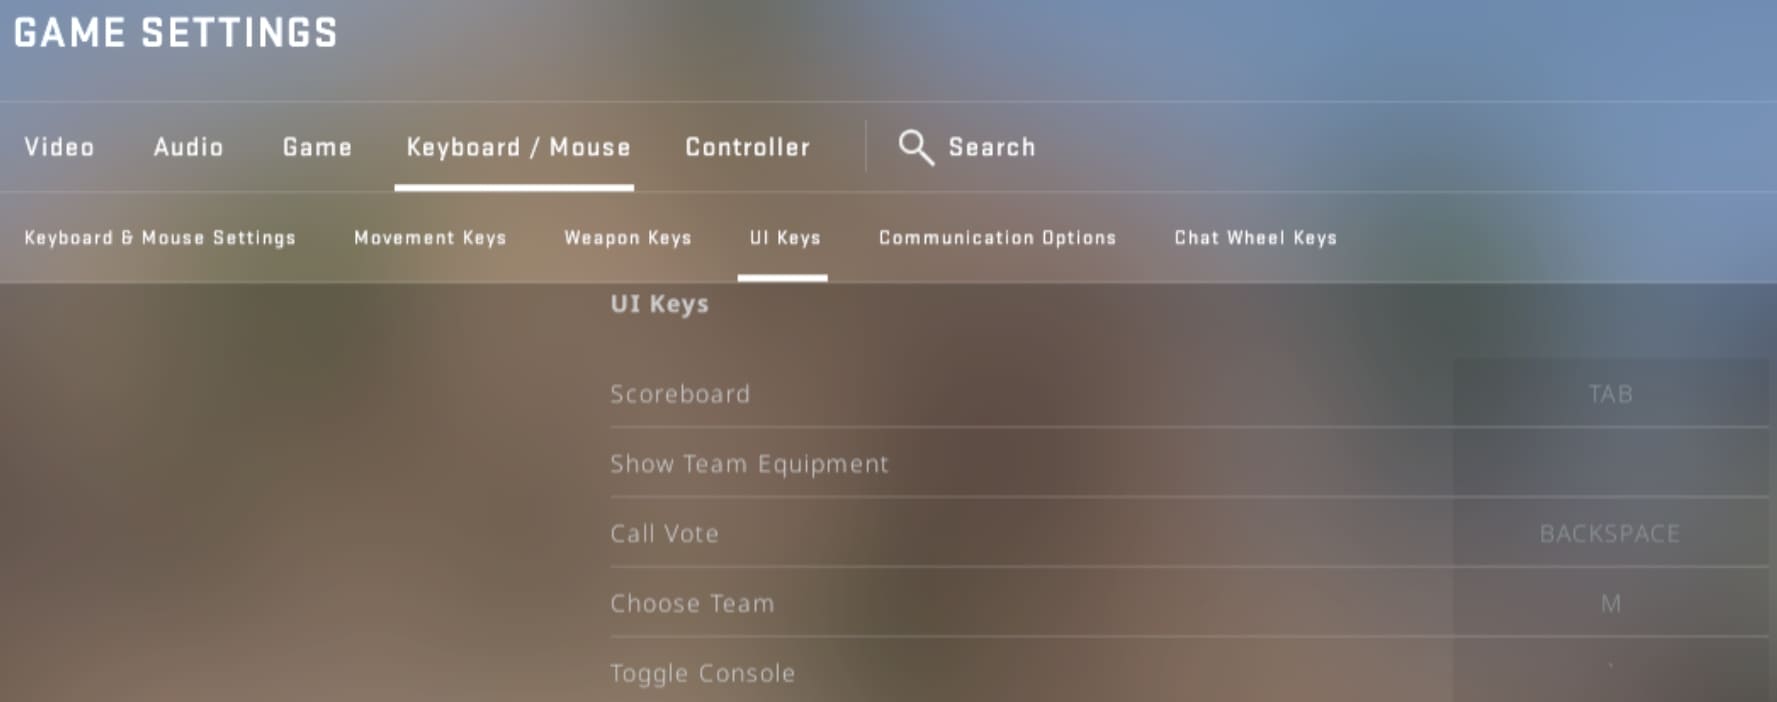
- Sometimes the activated console still doesn't open when you press the tilde key. In a situation like this, go to the Keyboard/Mouse section and scroll down to the UI Keys subsection. Your target option is Toggle Console. Set any key you like there. As for us, we recommend that you select the tilde key. This is the default value that you can see in thousands of guides.
- Check if your console works. The main thing is that it activates after pressing the key that you set in Toggle Console. Thanks to this, you'll be able to apply all the commands available in CS2.
CS2 1v1 Commands
Most CS:GO commands carry over to CS2 without syntax changes — everything below works with the current CS2 build.
How to Put Commands into CS2
Entering commands in CS2 requires the developer console to be open and active. Here is the full process:
- Open CS2 and load into your private match or Workshop map.
- Press the tilde key ~ to open the developer console. If the console does not appear, go to Settings → Game → Enable Developer Console and set the value to Yes.
- Click inside the console input field at the bottom of the console window.
- Type your command exactly as written — CS2 commands are case-sensitive and accept no spaces before the value.
- Press Enter to execute the command. No confirmation message appears for most commands — the effect applies immediately.
To enter multiple commands at once, use a config file with exec 1v1_commands rather than typing each command individually. This is the recommended method for 1v1 sessions.
sv_cheats 1
This command remains unchanged in CS2. One of the most popular 1v1 commands. It enables cheats which in turn are required to activate other commands. Note that cheat-dependent commands are only executed on private servers. You won't be able to use them on official Valve servers.
bot_kick
The essence of most CS2 1v1 commands is clear to players without further explanation. bot_kick is one of them. As you probably already guessed, it deactivates bots. They aren't needed in 1v1 encounters. So, kick boring bots and don't be distracted by them during an exciting match.
mp_free_armor 1
Do you want to start every match with a free kevlar and helmet? You can't do without this command! Its disadvantage is that your opponent will receive the same equipment. On the other hand, it's even more interesting, especially on maps where rifles are actively fired.
mp_freezetime 2
This is one of the 1v1 commands that sometimes cause confusion among beginners. Its purpose becomes clear if you find out what the freeze time is. We're talking about the time at the start of the round when gamers are unable to move. 2 means seconds in this case.
mp_round_restart_delay 3
One more command to save you precious time. The 3 here indicates the duration of the break in seconds between rounds. The default value is 7. Therefore, over 10 rounds you'll save 40 seconds. Whether it's a lot or a little is up to you.
mp_roundtime 60
This command increases the round time to 60 minutes. We believe this is more than enough for a friendly match. If you wish, you can replace 60 with another number. In private battles, you play by your own rules and change them as you like.
How to Get Unlimited Time in CS2 Private Match
mp_roundtime 60 sets the round timer to 60 minutes, which is enough for most practice sessions. Enter the command in the developer console after enabling sv_cheats 1:
mp_roundtime 60
To reset both values to CS2 competitive defaults, enter:
mp_roundtime 1.92
mp_maxrounds 24
mp_maxrounds 30
Thanks to this command, you increase the number of rounds to 30 (the default value for Competitive matches). To win, you must defeat your opposing team 16 times. Veterans of the standard game should be well aware of this rule.
mp_warmup_end
Don't like waiting until the warm-up period is over? Reduce its time to 1 second! Just use this command and save up to 5 minutes when starting another bloody battle. In 1v1 matches, such a long wait is unnecessary. Get rid of it as soon as possible.
mp_overtime_enable 1
Let's say that your battle ends with a score of 15:15. In the next round, it would be nice to decide who is the winner. That's what overtime is for. When team skills are equal, this additional time period comes in handy. It's like a penalty shootout in football.
sv_infinite_ammo 2
Infinite ammo lets you focus on the game without stopping to reload. Use value 2 for infinite magazine ammo with no reload required. Use value 1 for infinite total ammo that still requires reloading. In 1v1 practice sessions, 2 is the recommended setting.
sv_alltalk 1
By default, players from different teams cannot communicate with each other via voice chat. sv_alltalk 1 removes this restriction. This command is especially useful for playing with friends. You play, talk and have fun. What could be better?
sv_deadtalk 1
sv_deadtalk 1 complements sv_alltalk 1. During a standard match, "live" players don't hear "dead" ones. This command is establishing a connection with the afterlife. As a result, you can hear the voices of fallen soldiers. Seriously speaking, it removes one more unnecessary restriction.
mp_restartgame 1
mp_restartgame 1 finishes off this list of 1v1 commands. After you restart the game, you'll join a match that already has unlimited ammo, long rounds, short warm-ups, etc. This command is something like an activator of all the other ones.
How to 1v1 in CS2 Without Bots
Bots fill empty team slots automatically in private CS2 matches, disrupting 1v1 sessions by interfering with rounds and skewing scores. Remove them with this command sequence in the developer console:
bot_kick
bot_quota 0
mp_autoteambalance 0bot_kick removes all active bots immediately. bot_quota 0 prevents CS2 from spawning new bots to fill slots. mp_autoteambalance 0 stops the game from moving players between teams automatically.
Alternative Methods — Community Servers & LAN
The Workshop hosting method covered above is not the only way to 1v1 in CS2. Two faster alternatives exist for players who want to skip config setup.
Community Servers host pre-configured 1v1 sessions with no setup required. Open CS2, go to Play → Community Server Browser, and search for "1v1" in the filter field. Select any server from the results and connect directly. Two platforms worth checking are Faceit — which runs structured CS2 pickup matches including 1v1 formats — and servers running Redline configs, a popular community preset for aim-focused 1v1 sessions.
LAN via Hamachi or Radmin VPN creates a virtual local network between two players. Both players install the same VPN client, join the same network, and one player hosts a CS2 private match. The second player connects using the host's virtual IP:
connect <IP>:27015
| Method | Difficulty | Latency | Best For |
|---|---|---|---|
| Workshop Maps (Host) | Easy | None | Practice with friends |
| Community Servers | Very Easy | Low | Quick pickup matches |
| LAN (Hamachi/Radmin) | Medium | Depends on VPN | Competitive practice |
Pros and Cons of CS2 1v1 Mode
1v1 mode develops specific skills effectively but does not replace full competitive play. Here is what to expect:
Pros:
- Targeted mechanical practice with any specific weapon in isolated conditions
- Instant feedback on every duel outcome with no teammates to obscure results
- Flexible pace — pause, restart, or change settings at any point
- Low pressure environment that lets you experiment without ranking consequences
- Weapon-specific training impossible to replicate consistently in matchmaking
Cons:
- No team coordination, communication, or utility usage involved
- Host-side ping advantage can affect duel results on LAN sessions
- Limited game sense development — rotations, economy, and site reads are absent
- Risk of building habits that do not transfer to 5v5 scenarios
1v1 mode is best for sharpening mechanics. Combine it with competitive matchmaking for complete CS2 skill development.
Troubleshooting Common Issues
Console Won't Open Go to Settings → Game → Enable Developer Console and confirm the value is set to Yes. If the tilde key (~) does not respond, open Settings → Keyboard/Mouse → UI Keys → Toggle Console and assign an alternative key. Keyboard layouts in some regions place the tilde key in a non-standard position.
Commands Not Working Most commands in this guide require sv_cheats 1 to be active first. Enter sv_cheats 1 before any other command. If a specific command still fails, check the exact spelling — CS2 commands are case-sensitive and accept no spaces before the value.
Friend Can't Connect Confirm your lobby is set to Friends Can Join in the lobby settings. Ask your friend to join via a direct Steam invite rather than the server browser. If the problem persists, check that your firewall is not blocking CS2 on port 27015.
Config Not Loading Confirm the file is named exactly 1v1_commands.cfg with no extra characters. Confirm the file is located in:
steamapps\common\Counter-Strike 2\game\csgo\cfgThen enter exec 1v1_commands in the console without the .cfg extension. If the config still does not load, restart CS2 and try again.
FAQ
How to 1v1 a friend in CS2?
Create a lobby in CS2 and invite your friend via Steam. Go to Play → Workshop Maps, select your subscribed 1v1 map, and click Go. Once the map loads, open the console and enter exec 1v1_commands to apply all server settings. Detailed instructions are available in the How to 1v1 in CS2 section of this guide.
What are the best 1v1 maps in CS2?
- Aim Map | Gamma.
- aim_map — balanced open-layout rifle map
- aim_redline — narrow corridor map for reflex training
- aim_botz — bot-based aim trainer adaptable for 1v1 sessions
- BLAST Stand-Off — the map used in professional BLAST Premier showcase matches
- aim_pistols — pistol-specific practice map for close-range duels
How do I practice aim in CS2?
Three methods cover most aim training needs in CS2: 1v1 matches for live duel practice, aim_botz for isolated target acquisition drills, and deathmatch for high-volume repetition. For mechanical improvement, aim_botz combined with regular 1v1 sessions is the recommended starting point.
Can you use admin commands in a private CS2 server?
Most server-side commands are accessible via sv_cheats 1 on any private match you host through Workshop Maps. Commands like sv_infinite_ammo, noclip, and god all activate this way. A fully dedicated server installation unlocks additional admin controls, but is not required for standard 1v1 sessions.
How to play 1v1 on CS2 with a friend remotely?
Three options work for remote 1v1 sessions. Workshop hosting lets one player create a lobby and invite a friend directly via Steam with no additional software. Hamachi or Radmin VPN creates a virtual LAN connection — both players join the same VPN network and connect using connect
Is 1v1 good for improving in CS2?
Yes, for mechanical skills specifically. Regular 1v1 sessions improve aim, movement, and weapon-specific dueling in conditions matchmaking cannot replicate. The limitation is that 1v1 does not develop team coordination, utility usage, or site rotations. Combine 1v1 practice with competitive matchmaking for well-rounded CS2 improvement.
Why Set Up 1v1 in CS2?
Aiming skills training. To play CS2 effectively, you must shoot quickly and accurately. Every weapon demands a different approach: tracking with an AK-47 feels nothing like flicking with a Glock or landing a one-tap with a Sniper rifle. Without mastering Weapon aim and adjusting Reticle placement for each gun, you will constantly die under enemy fire. 1v1 matches let you isolate and drill those mechanics under real pressure.
Mastering emotion control. 1v1 sessions develop emotion control by exposing players to high-stakes duels without ranking consequences.
Dominance in Clutches. Fighting alone against one or more opponents is called a Clutch. 1v1 battles teach you to survive difficult game situations and deal with enemies quickly, whether you are holding a Knife fight at close range or reading a Duel at distance. The more experience you accumulate, the sharper your Clutch reads become.